How to Create macOS Big Sur Bootable USB on Windows


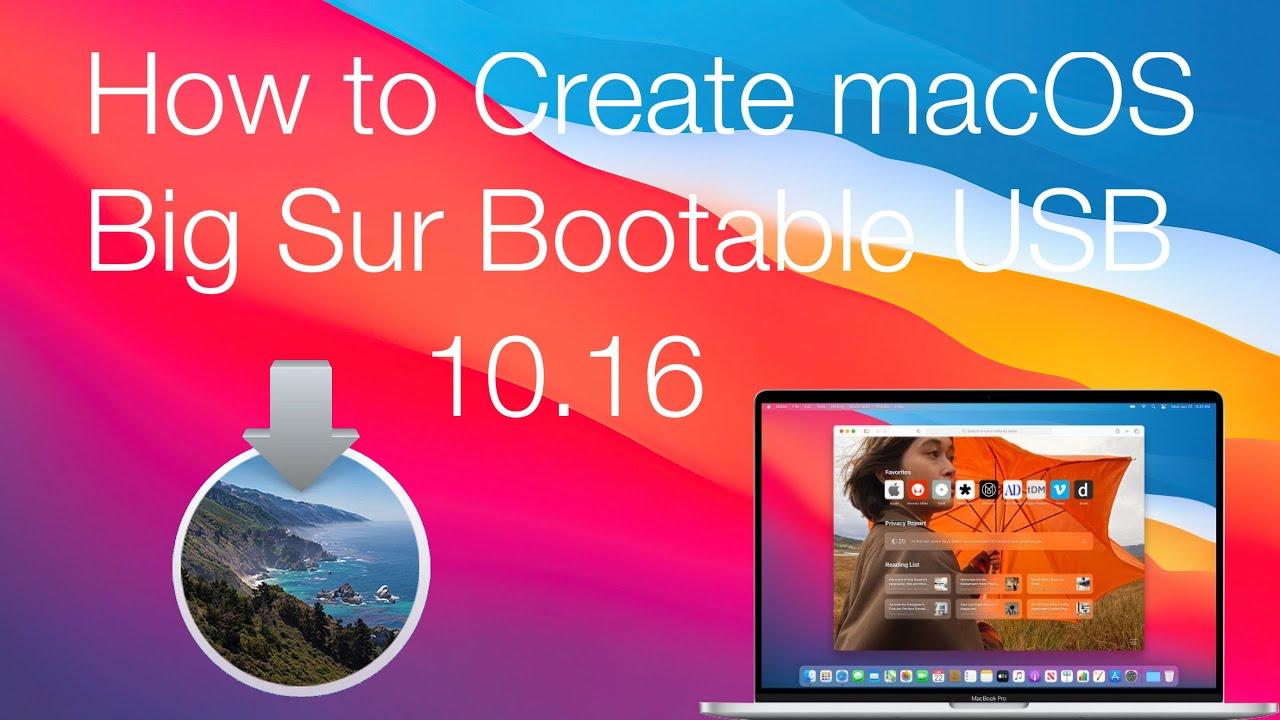
In this article, I am going to show you How to Create macOS Big Sur Bootable USB on Windows. As you all know that macOS Big Sur is the latest operating system for Mac computers. Like every operating system, macOS Big Sur also has its own features and functionalities which everyone wants to give a try at least once. Therefore, it is somehow difficult to directly install macOS Big Sur on a computer. But with the help of Bootable USB, you can have the complete installation of macOS Big Sur on your Mac computer.
If your operating system has been damaged and you can’t reinstall the operating system then this article will help you out to create macOS Big Sur bootable on Windows PC. But there are still some people who don’t know the actual procedure of this. It only needs the DMG file of macOS Big Sur and third-party software to create macOS Big Sur bootable.
For this purpose, I am going to show you three easy methods which will surely show you the procedure about that. Just go ahead and follow one of these methods and it depends on you which method you will just choose.
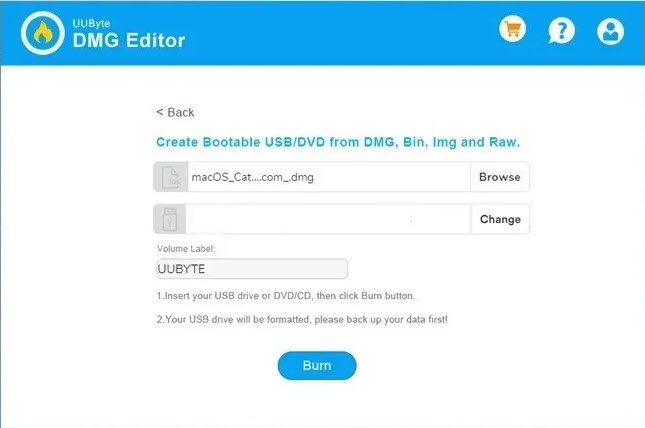
Create macOS 11 Big Sur Bootable USB With UUByte DMG Editor
Step 1. At first, you need to download and install UUByte DMG Editors on your laptop or computer.
Step 2. Then you need to connect your USB drive or DVD disc to your computer or laptop.
Step 3. Now, open the app after that click on the Burn.
Step 4. Select the file of macOS Big Sur DMG by click on the Browser option.
Step 5. When you select the macOS Big Sur DMG file then select the name of USB or DVD after that click on the Burn.
Step 6. Then wait for 10 minutes after that your bootable USB drive is ready.
 UUByte DMG Editor
 How to Install TransMac on your Windows
Step 1. Go to the folder that you download the TransMac.
Step 2. Once you find the TransMac then Double Click on it.
Step 3. When you double click on it then you’re on the page of TransMac.
Step 4. Now, I perper you to read the information before we are going ahead then check the I Accept the Agreement after that click on the Next.
Step 5. In this step, we are going to install the app, choose the location that you want to install that then click on the Next.
Step 6. Now, again click on the Next.
Step 7. At last click on the Install to install on your laptop or computer.
Step 8. When the installation is done then click on the Finish.
Open TransMac Administrator
When you will successfully install TransMac then connect the USB drive you are going to use for macOS 11 Bootable USB. After that, open the app of TransMac as an administrator and follow the below steps.
Step 1. Right-click on your USB drive from the left side of your screen. After that click on the Restore With Disk Image.
Step 2. Click on the Ok.
Step 3. Now, select the file of the macOS 11 Big Sur DMG file by click on the Three Dots after that click on the Ok.
Step 4. Click on the Yes.
Step 5. When you click on the yes wait for bootable then you need to have tolerance.
Related Guide:
- How to Recover Deleted Files on macOS Big Sur
- How to Uninstall/Delete Application in macOS Big Sur
- Install Ubuntu on Windows 10 using VMware Workstation
Bottom Line
It was all about How to Create macOS Big Sur Bootable USB on Windows. If you want to bootable your macOS big sur then I will here to help you. I hope after reading this article you will get something about macOS big sur bootable. If you have faced any kind of problem while following the steps then don’t hesitate to leave comments in the comment section below.
Tagged
Share This Article
In this article, I am going to show you How to Create macOS Big Sur Bootable USB on Windows. As you all know that macOS Big Sur is the latest operating system for Mac computers. Like every operating system, macOS Big Sur also has its own features and functionalities which everyone wants to give a try at least once. Therefore, it is somehow difficult to directly install macOS Big Sur on a computer. But with the help of Bootable USB, you can have the complete installation of macOS Big Sur on your Mac computer.
If your operating system has been damaged and you can’t reinstall the operating system then this article will help you out to create macOS Big Sur bootable on Windows PC. But there are still some people who don’t know the actual procedure of this. It only needs the DMG file of macOS Big Sur and third-party software to create macOS Big Sur bootable.
For this purpose, I am going to show you three easy methods which will surely show you the procedure about that. Just go ahead and follow one of these methods and it depends on you which method you will just choose.
Create macOS 11 Big Sur Bootable USB With UUByte DMG Editor
Step 1. At first, you need to download and install UUByte DMG Editors on your laptop or computer.
Step 2. Then you need to connect your USB drive or DVD disc to your computer or laptop.
Step 3. Now, open the app after that click on the Burn.
Step 4. Select the file of macOS Big Sur DMG by click on the Browser option.
Step 5. When you select the macOS Big Sur DMG file then select the name of USB or DVD after that click on the Burn.
Step 6. Then wait for 10 minutes after that your bootable USB drive is ready.
 UUByte DMG Editor
 How to Install TransMac on your Windows
Step 1. Go to the folder that you download the TransMac.
Step 2. Once you find the TransMac then Double Click on it.
Step 3. When you double click on it then you’re on the page of TransMac.
Step 4. Now, I perper you to read the information before we are going ahead then check the I Accept the Agreement after that click on the Next.
Step 5. In this step, we are going to install the app, choose the location that you want to install that then click on the Next.
Step 6. Now, again click on the Next.
Step 7. At last click on the Install to install on your laptop or computer.
Step 8. When the installation is done then click on the Finish.
Open TransMac Administrator
When you will successfully install TransMac then connect the USB drive you are going to use for macOS 11 Bootable USB. After that, open the app of TransMac as an administrator and follow the below steps.
Step 1. Right-click on your USB drive from the left side of your screen. After that click on the Restore With Disk Image.
Step 2. Click on the Ok.
Step 3. Now, select the file of the macOS 11 Big Sur DMG file by click on the Three Dots after that click on the Ok.
Step 4. Click on the Yes.
Step 5. When you click on the yes wait for bootable then you need to have tolerance.
Related Guide:
- How to Recover Deleted Files on macOS Big Sur
- How to Uninstall/Delete Application in macOS Big Sur
- Install Ubuntu on Windows 10 using VMware Workstation
Bottom Line
It was all about How to Create macOS Big Sur Bootable USB on Windows. If you want to bootable your macOS big sur then I will here to help you. I hope after reading this article you will get something about macOS big sur bootable. If you have faced any kind of problem while following the steps then don’t hesitate to leave comments in the comment section below.


