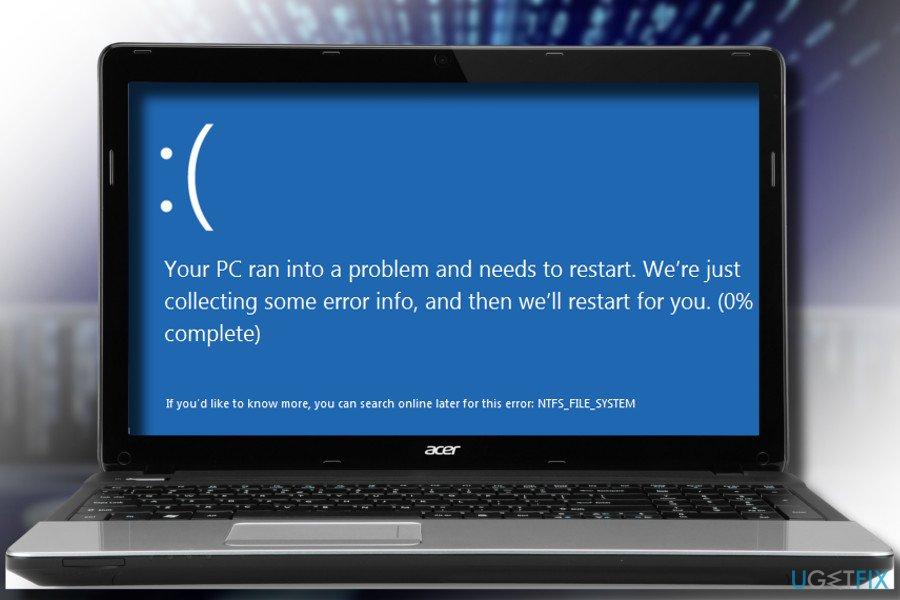
How to Fix the NTFS File System Error in Windows 11?


In this article, you will learn How to Fix the NTFS File System Error in Windows 11? Do you want to fix the NTFS file system error? If yes then this article is for you to fix your problems. Most of the people were always facing the error of the NTFS file system. However, If they face the error of NTFS then they wanted to fix that problem. When they search on YouTube about this error then once you search after that the video that you are watching maybe not be real. If you want to fix the NTFS file system error then you need to read this article. So, without wasting any time let’s get has started.
Method 1: Scan System Files
Step 1. First of all, you need to launch the Command Prompt from the Start menu then run the command prompt as administrator.
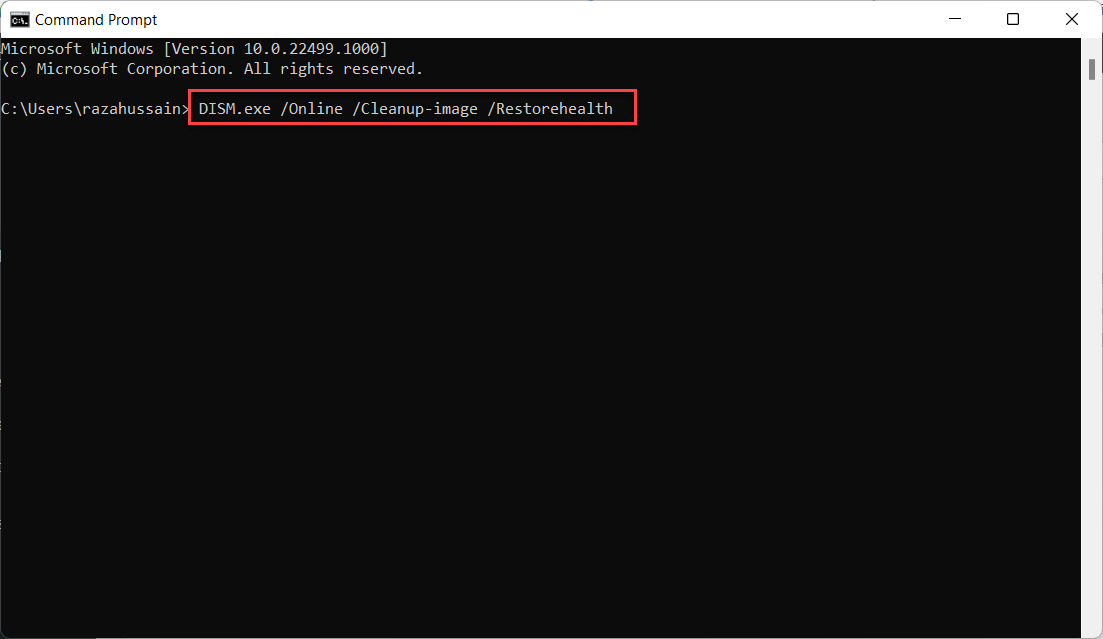
Step 2. When you launch the CMD as administrator then type or paste the following code after that press the Enter button.
DISM.exe /Online /Cleanup-image /Restorehealth

Step 3. After that execute the above command then paste this code.
sfc /scannow
Step 4. At last, wait until the scanning file checker should finish.
Method 2: Run a Disk Scan
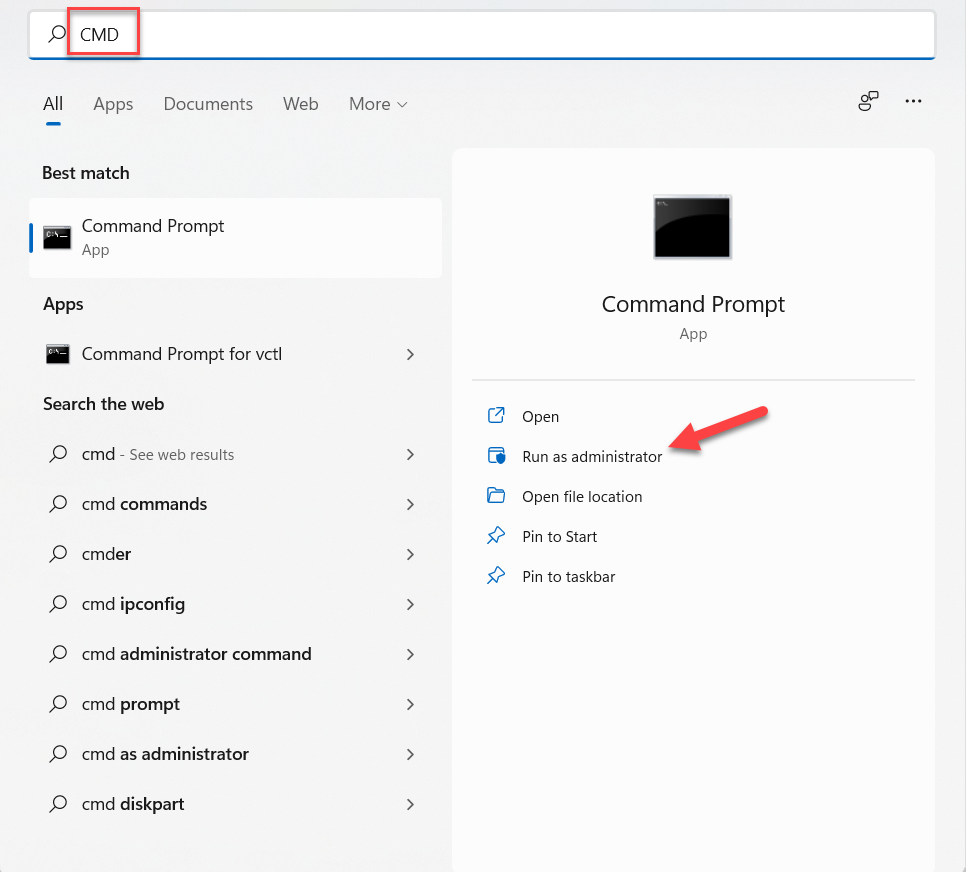
Step 1. At first, press and hold Win Key + S to open the search box then type CMD after that tap on the Run As Administrator.
 Tap on the Run Administrator
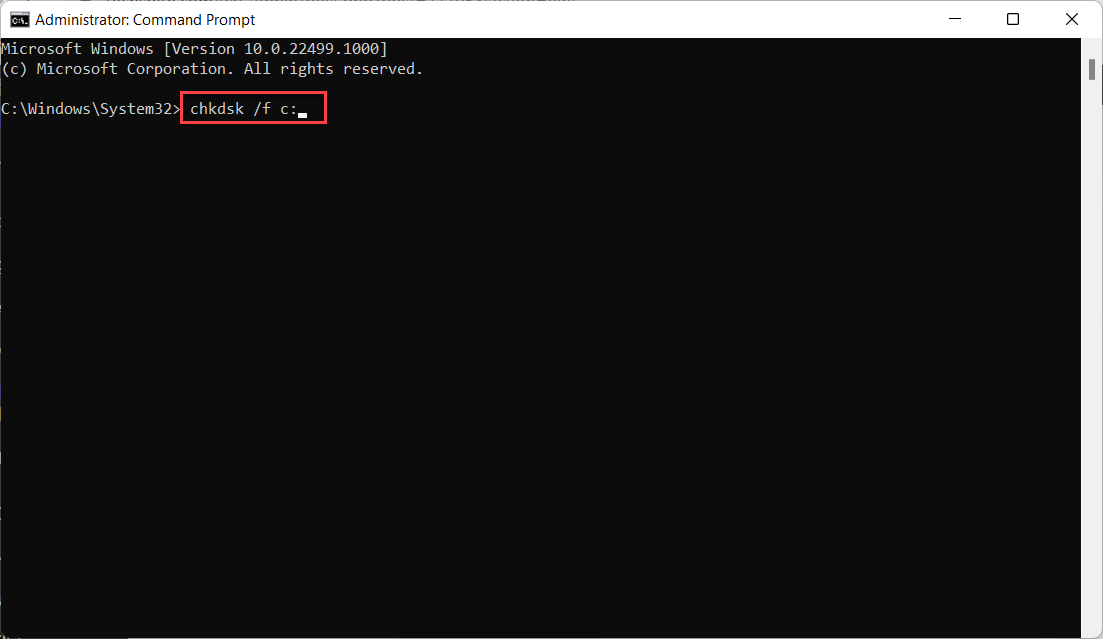
 Step 2. Once the CMD is launched then head towards with the following command:
chkdsk /f c:

Step 3. Now, click on the Y from your keyboard then hit the Enter button.
Step 4. Finally, restart your PC from the Start menu.
Bottom Line
It was all about How to Fix the NTFS File System Error in Windows 11? I hope this article is very helpful for you to fix the NTFS file system error. From this article, you will get something good. This is the right place where you can easily solve your problem. After following these steps I hope you will not face any kind of problem. If you faced any kind of problem and if you have any type of suggestions then do comment.
Related Posts:
Tagged
Share This Article
In this article, you will learn How to Fix the NTFS File System Error in Windows 11? Do you want to fix the NTFS file system error? If yes then this article is for you to fix your problems. Most of the people were always facing the error of the NTFS file system. However, If they face the error of NTFS then they wanted to fix that problem. When they search on YouTube about this error then once you search after that the video that you are watching maybe not be real. If you want to fix the NTFS file system error then you need to read this article. So, without wasting any time let’s get has started.
Method 1: Scan System Files
Step 1. First of all, you need to launch the Command Prompt from the Start menu then run the command prompt as administrator.
Step 2. When you launch the CMD as administrator then type or paste the following code after that press the Enter button.
DISM.exe /Online /Cleanup-image /Restorehealth

Step 3. After that execute the above command then paste this code.
sfc /scannow
Step 4. At last, wait until the scanning file checker should finish.
Method 2: Run a Disk Scan
Step 1. At first, press and hold Win Key + S to open the search box then type CMD after that tap on the Run As Administrator.
 Tap on the Run Administrator
 Step 2. Once the CMD is launched then head towards with the following command:
chkdsk /f c:

Step 3. Now, click on the Y from your keyboard then hit the Enter button.
Step 4. Finally, restart your PC from the Start menu.
Bottom Line
It was all about How to Fix the NTFS File System Error in Windows 11? I hope this article is very helpful for you to fix the NTFS file system error. From this article, you will get something good. This is the right place where you can easily solve your problem. After following these steps I hope you will not face any kind of problem. If you faced any kind of problem and if you have any type of suggestions then do comment.
Related Posts:


