How to Install Wireless Display in Windows 11?
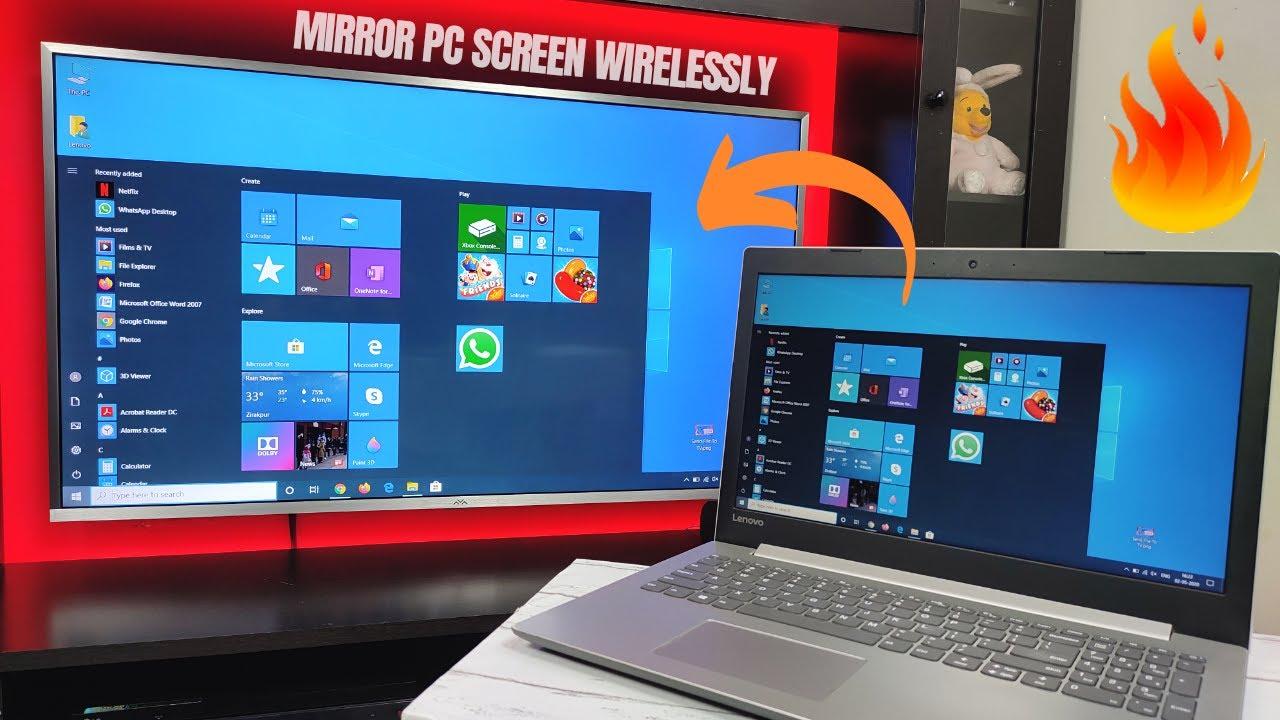

In this article, you will learn How to Install Wireless Display in Windows 11? Do you want to screen mirror your phone to a Windows 11 PC? If yes then a wireless display can help you in a better way? If you want to screen mirror your phone then you don’t need any wire to screen mirror. Most of the people they are screen mirror their phone to a PC with a wire but if you install the wireless display then you don’t need any wire. When you install a wireless display then you can screen mirror with your mobile, laptop, and even TV you can connect. If you want to install a wireless display then you need to read this article. So, without wasting any time let’s get has started.
How to Install Wireless Display in Windows?
Step 1. First of all, you need to open the Start menu then click on the Settings or press Win + I.
Step 2. When the settings are launch then from your left side go to the Apps after that from the options click on the Optional Features.
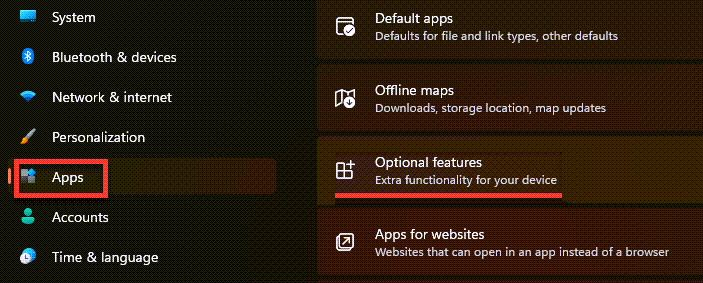 Optional Features
 Step 3. Click on the View Features to add optional features for your Windows 11.
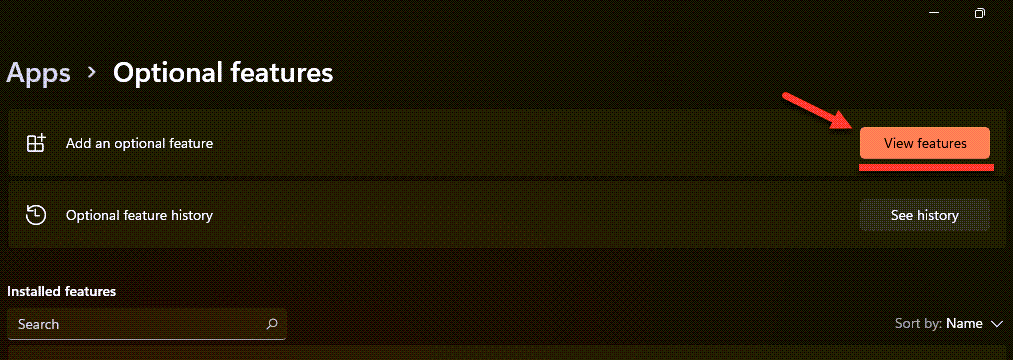 View features
 Step 4. Then scroll down then check the box of Wireless Display after that click on the Next.
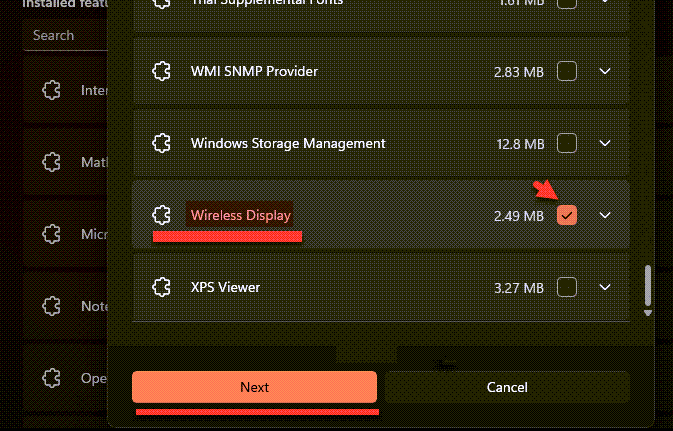 Wireless Display
 Step 5. Now, click on the Install.
 Install Wireless Display
 Step 6. Next, the installing will start then wait until the installation is done.
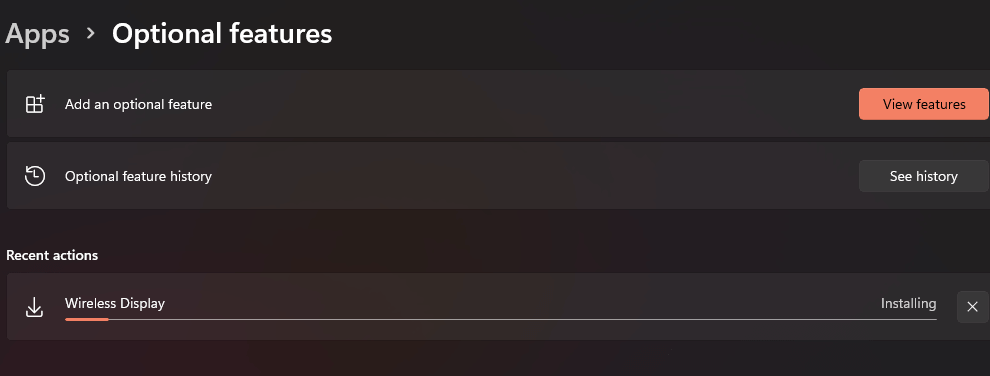 Installing process
 How to Fix Wireless Display Error Failed
Step 1. Ar first, open the Settings then head towards the Network & Internet.
Step 2. Here in the section of network & internet of network & internet click on the Properties.
Step 3. At last, turn off the toggle of Metered Connection.
Bottom Line
It was all about How to Install Wireless Display in Windows 11? I hope this article is very helpful for you to install the wireless display. From this article, you will get something good. This is the right place where you can easily solve your problem. After following these steps I hope you will not face any kind of problem. If you faced any kind of problem and if you have any type of suggestions then do comment.
Related Posts:
Tagged
Share This Article
In this article, you will learn How to Install Wireless Display in Windows 11? Do you want to screen mirror your phone to a Windows 11 PC? If yes then a wireless display can help you in a better way? If you want to screen mirror your phone then you don’t need any wire to screen mirror. Most of the people they are screen mirror their phone to a PC with a wire but if you install the wireless display then you don’t need any wire. When you install a wireless display then you can screen mirror with your mobile, laptop, and even TV you can connect. If you want to install a wireless display then you need to read this article. So, without wasting any time let’s get has started.
How to Install Wireless Display in Windows?
Step 1. First of all, you need to open the Start menu then click on the Settings or press Win + I.
Step 2. When the settings are launch then from your left side go to the Apps after that from the options click on the Optional Features.
 Optional Features
 Step 3. Click on the View Features to add optional features for your Windows 11.
 View features
 Step 4. Then scroll down then check the box of Wireless Display after that click on the Next.
 Wireless Display
 Step 5. Now, click on the Install.
 Install Wireless Display
 Step 6. Next, the installing will start then wait until the installation is done.
 Installing process
 How to Fix Wireless Display Error Failed
Step 1. Ar first, open the Settings then head towards the Network & Internet.
Step 2. Here in the section of network & internet of network & internet click on the Properties.
Step 3. At last, turn off the toggle of Metered Connection.
Bottom Line
It was all about How to Install Wireless Display in Windows 11? I hope this article is very helpful for you to install the wireless display. From this article, you will get something good. This is the right place where you can easily solve your problem. After following these steps I hope you will not face any kind of problem. If you faced any kind of problem and if you have any type of suggestions then do comment.
Related Posts:


