If you have installed macOS Big Sur on VirtualBox on Windows PC then the first thing you will see a small screen resolution which is not good at all. However, you will notice many problems while using any operating system on VirtualBox but the most popular problem is that you can’t expand your screen resolution on VirtualBox The screen resolution size will remain by default that’s why you can’t change it to other resolution sizes. You might know that in small screen resolution, we can’t do our work properly. Fixing the screen resolution problem just needs a piece of code that will help you enter the full screen on VirtualBox. Therefore, in this article, I will be showing you How to Fix macOS Big Sur Screen Resolution on VirtualBox.
In fact, one of the most important and interesting about using any operating system is its screen resolution. Everyone gets a small resolution when install macOS Big Sur on VirtualBox until you run a piece of code to the command prompt. Therefore, if you want to use and experience the complete screen resolution of an operating system on VirtualBox then you are in the right place. Let’s jump into it directly.
How to Fix macOS Big Sur Screen Resolution on VirtualBox
You might know that whenever you switch to the full-screen mode then it won’t cover the whole screen, on the sides, it will be covered with the black. If we can’t use it with the full-screen mode then no one enjoys using it. In this case, you will learn the step by step guide on How to Fix macOS Big Sur Screen Resolution on VirtualBox.
Close the Virtual machine on the VirtualBox and make sure to power off it.
Once it is closed. After that, you will need a single piece of code and run that to the virtual machine.
So, you have to copy the below code and make sure to paste on the Notepad or other third-party editor software.
cd "C:\Program Files\Oracle\Virtualbox"
VBoxManage setextradata “Your Virtual Machine Name” VBoxInternal2/EfiGraphicsResolution X

1280x7201920x1080
2048x1080
2560x1440
3840x2160
1280x800
1280x1024
1440x900
1600x900

VirtualBox doesn't support 1366x768 so you can use 1280x720 with "Scaled Mode".
Once it is pated on the Notepad, you have to replace your Virtual Machine Name text with the name of your Virtual Machine which you have created. Keep in mind that the name should be correct otherwise, it won’t fix the macOS Big Sur screen resolution on VirtualBox.

Next, you have to modify the size of screen resolution which is 1920×1080 with the resolution tested down below.

Finally, the commands are completely ready to use now. The only and remaining step is to paste the edited the commands on the Command Prompt. Therefore, you have to open the CMD (Command Prompt) without running as an administrator.

When the command prompt window appears on the screen, you have to locate the VirtualBox for that make sure to copy and paste the first line of command and press Enter.

Once you have located the VirtualBox, now you have to copy and paste the next line of commands. It will change the default screen resolution to your desired size.

When you have done all the steps properly. It is time to start the virtual machine for that make sure to click on the Start button.

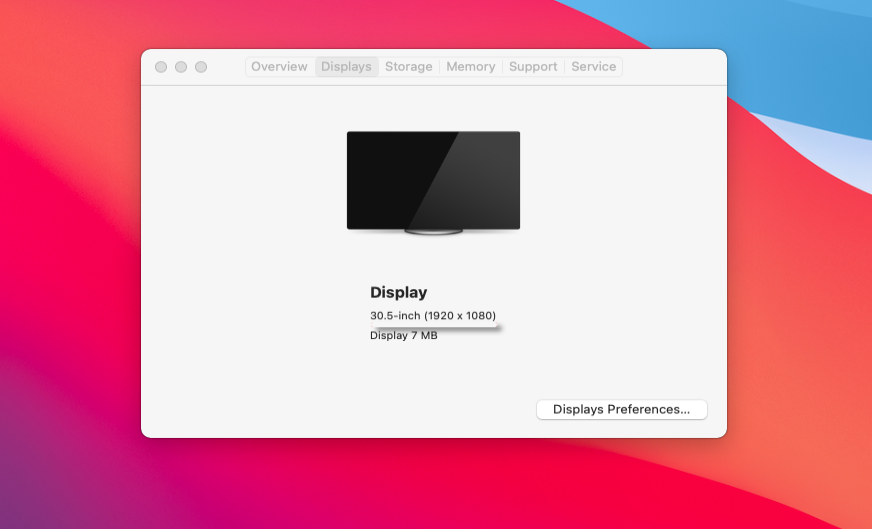
Click on the Apple logo from the left corner of the screen and select About This Mac. From the Display tab, you will probably see your new screen resolution.

Bottom Line
It was the step by step guide on How to Fix macOS Big Sur Screen Resolution on VirtualBox. This method will for everyone. I think using screen resolution is the only way to fix the problem. Because everybody has experienced this method and worked successfully. In this case, I hope that it has worked for you as well. If you have found any kind of problem then don’t hesitate to leave comments in the comment section down below.

