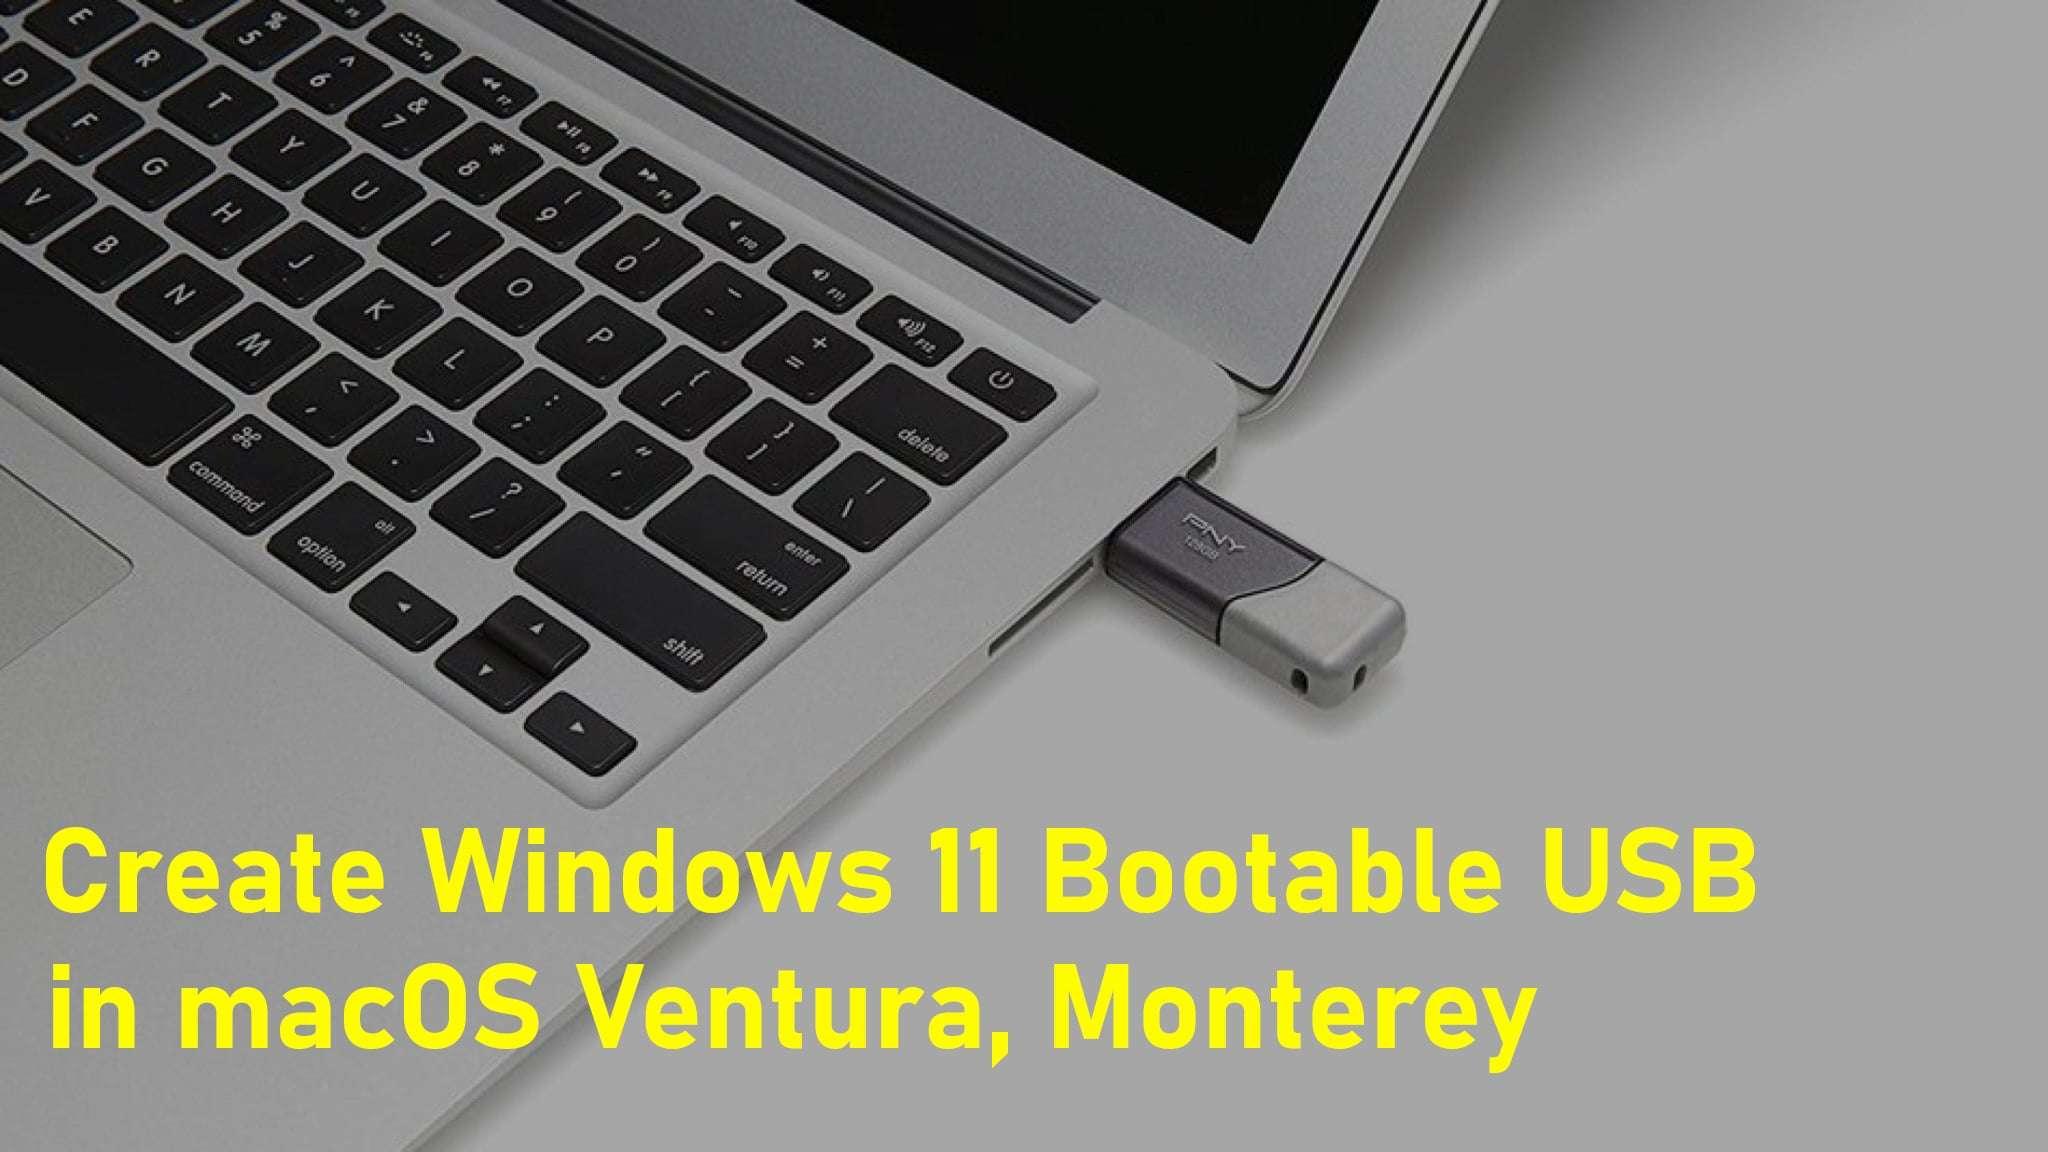
How to Create Windows 11 Bootable USB in macOS? (Ventura, Monterey, Big Sur)


Want to Create Windows 11 Bootable USB in macOS? If yes, then you are in the right place. Creating a bootable USB can be very difficult for some newbies but in fact, it is not that difficult.
As you know, Microsoft has released the latest operating system by the name of Windows 11. So far many people have not experienced it yet. Most of the people want to experience windows 11 on their laptops but most of them cannot because they are unable to create windows 11 bootable USB. While creating a bootable USB for any operating system you need another laptop to create it bootable. Once you create a windows 11 bootable USB, then you can easily install it your laptop.
You can use different kind of operating system for creating bootable USB but the best alternative to windows 11 is macOS. Because in macOS you will find a terminal where you can easily create a bootable USB for any operating system. But you cannot create a windows 11 bootable USB within the terminal directly, you will need third-party software in order to create a windows 11 bootable USB. And macOS does not support NFTS file due to which you have to split windows files into parts.
How to Create Windows 11 Bootable USB in macOS Ventura/Monterey?
If you want to create windows 11 bootable USB in macOS Ventura, macOS Monterey then you have to follow each of the steps down below. The procedure is a bit lengthy but I’m pretty sure that it will work in all versions of macOS
1. Download Windows 11 ISO Image
The first step is all about that you need to download the ISO image of Windows 11. So, you can download Windows 111 ISO images from the official website of Microsoft.
Now, open any of the browsers and search for the Downloaded Windows 11 in the search box, and click on the first link.
Once the website is launched then scroll down to the section of Download Windows 11 Disk Image (ISO) then select the multi-edition of Windows 11, and there are a few more steps to go through it.
2. Buy a 4 GB USB Pen Drive
The second is that you have a USB with 4 GB size if you are using the multi-edition of Windows 11. You should buy a 4 GB USB otherwise the process of bootable USB of Windows 11 will stop here. If your Windows 11 is Pro, Home, or Enterprise edition, and if you are thinking that 4 GB UDB is enough then you are completely wrong even if it will not work. Therefore it will be good to purchase a 4 GB USB Pen Drive.
3. Erase the USB Drive
First of all, open the Disk Utility through the launchpad or you can also open the spotlight and search for the Disk Utility. It is set by default that all the devices are not showable to look at all the devices simply click on the View and then select Show All Devices. Choose your USB drive after that tap on Erase and follow the other settings:
- Name: WINUSB
- Format: MS-DOS (FAT32)
- Scheme: Master Boot Drive
4. Copy ISO Image
This step is all about copying and pasting into the USB drive. First of all, you need to mount the downloaded Windows 11 ISO image and once it is mounted after that a new folder will appear in the name of CCCOMA_X64FRE_EN-US_DV9 or the name can be different for you.
Open that folder and select all the folders without the Sources file and then paste it into the USB drive
Once the above step is done then create a new folder and name its source.
Now head towards the directory folder after that launch the source folder then copy all the files without the Install.wim file and pastes all the files inside the source directory on the USB drive.
5. Split Install.wim and Copy
If a say you that the install.wim file is 4 GB that you can paste into a USB drive. And the FAT32 is old and can’t copy more than 4 GB at one time. So, this is the reason that we are going to split the install.wim file via Terminal.
The bad news is that the Terminal can’t create Windows 11 bootable USB lonely because of that you should download homebrew. After that go through the following command in the Terminal to install homebrew.
/bin/bash -c "$(curl -fsSL https://raw.githubusercontent.com/Homebrew/install/HEAD/install.sh)"Next, install the Wimlib by executing the below command.
brew install wimlibNow, once again you have to execute the following command to split install.wim.
wimlib-imagex split /Volumes/CCCOMA_X64FRE_EN-US_DV9/sources/install.wim /Volumes/WINUSB/sources/install.swm 40006. Install Windows 11
Finally, this is the last step and if all the above is complete then the last step will work for sure. Simply connect the USB drive to your PC then hold and press the boot key of your computer after that boot your operating system and install Windows 11.
Final Words
It was all about How to Create Windows 11 Bootable USB in macOS? (Ventura, Monterey, Big Sur). I hope this article is very helpful for you. From this article, you will get something good. This was step by step guide on the that you were searching about it. Further, this is the right place where you can easily solve your problem. After following these steps I hope you will not face any kind of problem. However, If you faced any kind of problem and if you have any type of suggestion then do comment.
Related Posts:
Tagged
Share This Article
Want to Create Windows 11 Bootable USB in macOS? If yes, then you are in the right place. Creating a bootable USB can be very difficult for some newbies but in fact, it is not that difficult.
As you know, Microsoft has released the latest operating system by the name of Windows 11. So far many people have not experienced it yet. Most of the people want to experience windows 11 on their laptops but most of them cannot because they are unable to create windows 11 bootable USB. While creating a bootable USB for any operating system you need another laptop to create it bootable. Once you create a windows 11 bootable USB, then you can easily install it your laptop.
You can use different kind of operating system for creating bootable USB but the best alternative to windows 11 is macOS. Because in macOS you will find a terminal where you can easily create a bootable USB for any operating system. But you cannot create a windows 11 bootable USB within the terminal directly, you will need third-party software in order to create a windows 11 bootable USB. And macOS does not support NFTS file due to which you have to split windows files into parts.
How to Create Windows 11 Bootable USB in macOS Ventura/Monterey?
If you want to create windows 11 bootable USB in macOS Ventura, macOS Monterey then you have to follow each of the steps down below. The procedure is a bit lengthy but I’m pretty sure that it will work in all versions of macOS
1. Download Windows 11 ISO Image
The first step is all about that you need to download the ISO image of Windows 11. So, you can download Windows 111 ISO images from the official website of Microsoft.
Now, open any of the browsers and search for the Downloaded Windows 11 in the search box, and click on the first link.
Once the website is launched then scroll down to the section of Download Windows 11 Disk Image (ISO) then select the multi-edition of Windows 11, and there are a few more steps to go through it.
2. Buy a 4 GB USB Pen Drive
The second is that you have a USB with 4 GB size if you are using the multi-edition of Windows 11. You should buy a 4 GB USB otherwise the process of bootable USB of Windows 11 will stop here. If your Windows 11 is Pro, Home, or Enterprise edition, and if you are thinking that 4 GB UDB is enough then you are completely wrong even if it will not work. Therefore it will be good to purchase a 4 GB USB Pen Drive.
3. Erase the USB Drive
First of all, open the Disk Utility through the launchpad or you can also open the spotlight and search for the Disk Utility. It is set by default that all the devices are not showable to look at all the devices simply click on the View and then select Show All Devices. Choose your USB drive after that tap on Erase and follow the other settings:
- Name: WINUSB
- Format: MS-DOS (FAT32)
- Scheme: Master Boot Drive
4. Copy ISO Image
This step is all about copying and pasting into the USB drive. First of all, you need to mount the downloaded Windows 11 ISO image and once it is mounted after that a new folder will appear in the name of CCCOMA_X64FRE_EN-US_DV9 or the name can be different for you.
Open that folder and select all the folders without the Sources file and then paste it into the USB drive
Once the above step is done then create a new folder and name its source.
Now head towards the directory folder after that launch the source folder then copy all the files without the Install.wim file and pastes all the files inside the source directory on the USB drive.
5. Split Install.wim and Copy
If a say you that the install.wim file is 4 GB that you can paste into a USB drive. And the FAT32 is old and can’t copy more than 4 GB at one time. So, this is the reason that we are going to split the install.wim file via Terminal.
The bad news is that the Terminal can’t create Windows 11 bootable USB lonely because of that you should download homebrew. After that go through the following command in the Terminal to install homebrew.
/bin/bash -c "$(curl -fsSL https://raw.githubusercontent.com/Homebrew/install/HEAD/install.sh)"Next, install the Wimlib by executing the below command.
brew install wimlibNow, once again you have to execute the following command to split install.wim.
wimlib-imagex split /Volumes/CCCOMA_X64FRE_EN-US_DV9/sources/install.wim /Volumes/WINUSB/sources/install.swm 40006. Install Windows 11
Finally, this is the last step and if all the above is complete then the last step will work for sure. Simply connect the USB drive to your PC then hold and press the boot key of your computer after that boot your operating system and install Windows 11.
Final Words
It was all about How to Create Windows 11 Bootable USB in macOS? (Ventura, Monterey, Big Sur). I hope this article is very helpful for you. From this article, you will get something good. This was step by step guide on the that you were searching about it. Further, this is the right place where you can easily solve your problem. After following these steps I hope you will not face any kind of problem. However, If you faced any kind of problem and if you have any type of suggestion then do comment.
Related Posts:


