How to Create macOS Monterey ISO Image File? (Latest Version)
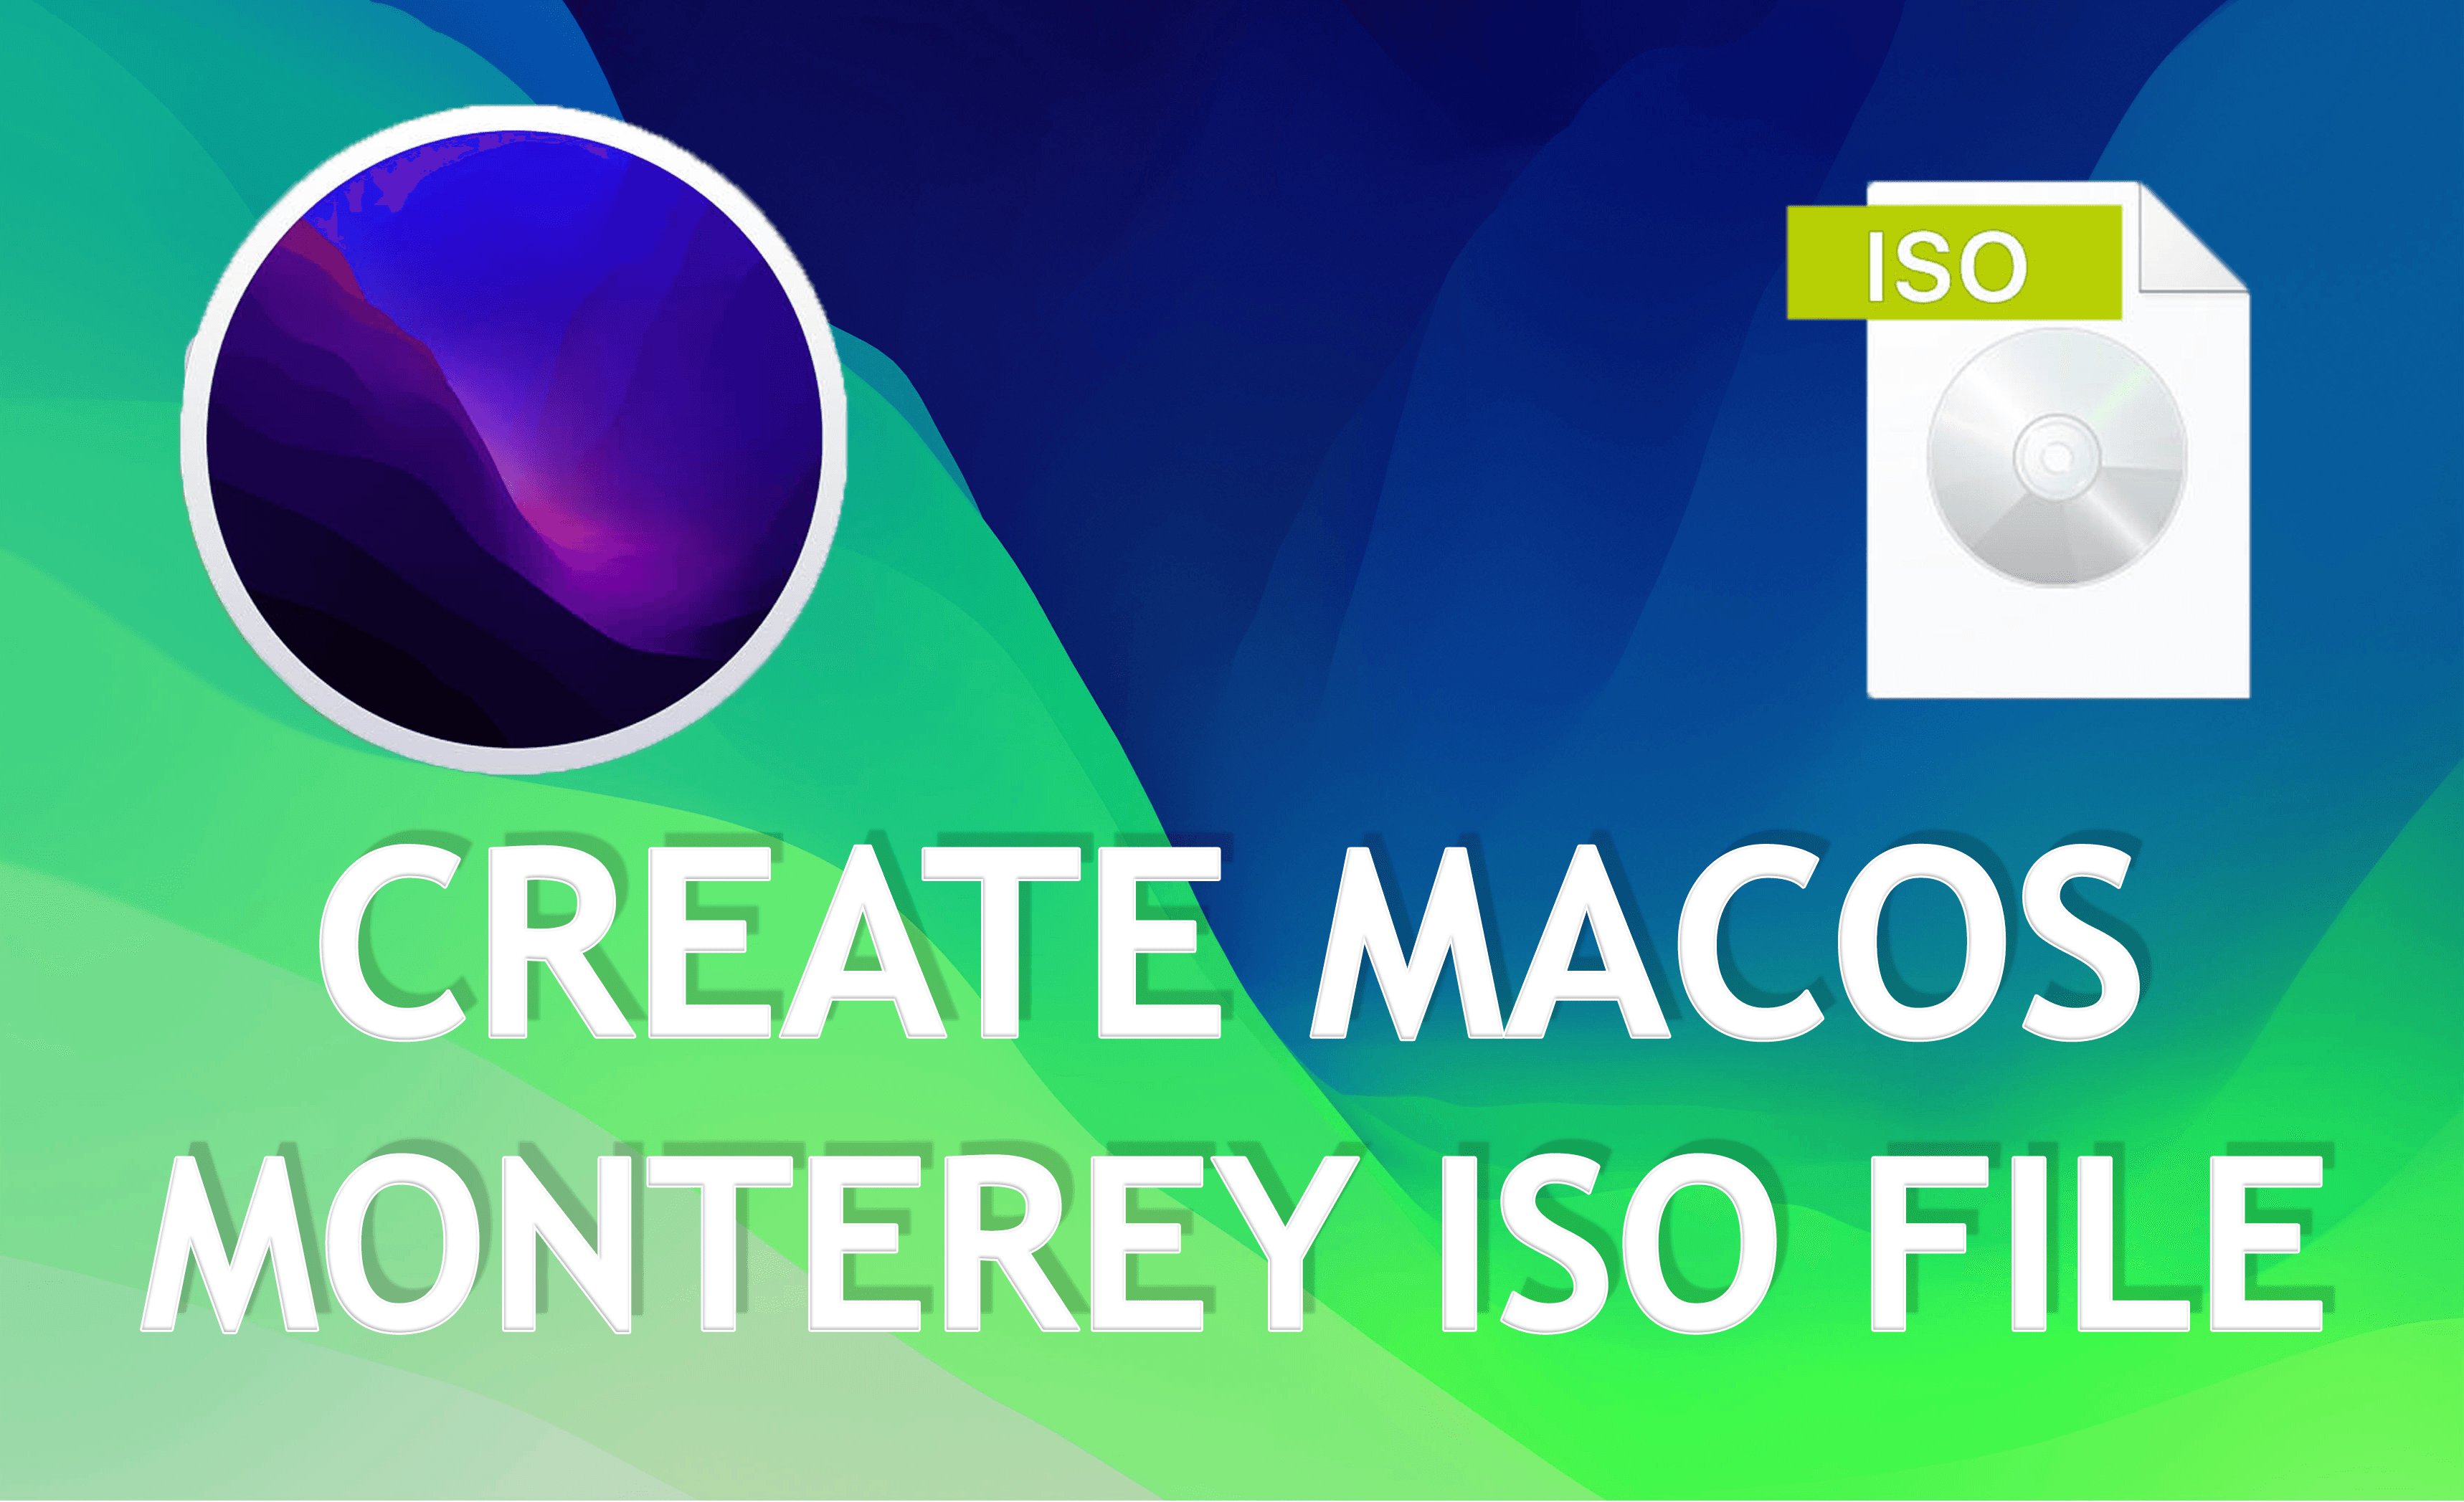
In this article, I am going to show you How to Create macOS Monterey ISO Image File. ISO File is a great tool to install any operating system on any platform. ISO simply means a copy of the operating system. However, if you canʻt find the latest version of the macOS Monterey ISO file. In this case, you are compelled to create your own macOS Monterey ISO’s latest version. Creating an ISO File from a disc image is a bit easy but really time-consuming. But I am pretty sure that you will get a 100% result and the latest version of macOS Monterey ISO.
When you create macOS Monterey ISO File then you can easily install macOS Monterey on your Mac as well as on virtualization software such as VMware and VirtualBox. I can say that you will really enjoy macOS Monterey and its fantastic features and functions. Therefore, follow up the guide step by step in order to Create macOS Monterey ISO Image File.
Create macOS Monterey ISO Image File
Step 1. Download the macOS Monterey DMG file from the App Store or from its official website. Now, the full and final version of macOS Monterey is released, you can easily download that.
Step 2. Once you have downloaded that, you have to quit the install by clicking on the Install macOS Monterey > Quit Install macOS
Step 3. Now make sure to open the terminal and type the following commands on the terminal. It will be prompted, just type your password.
Step 4. Mount the disk image to /volumes/bigsur write the below commands.
Step 5. Next, you have to write the Createinstallmedia command in order to make the disk image bootable with macOS Monterey.
Step 7. Now you have to convert and rename the disk image to iso.
After using all the commands accurately and following all the steps properly then you should have macOS Monterey ISO with yourself.
Bottom Line
It was all about How to Create macOS Monterey ISO Image File? (Latest Version). I hope you have learned something and successfully created a macOS Monterey ISO Image File. If you are having any kind of question-related to this article, you may feel free to comment down below.
Tagged
Share This Article
In this article, I am going to show you How to Create macOS Monterey ISO Image File. ISO File is a great tool to install any operating system on any platform. ISO simply means a copy of the operating system. However, if you canʻt find the latest version of the macOS Monterey ISO file. In this case, you are compelled to create your own macOS Monterey ISO’s latest version. Creating an ISO File from a disc image is a bit easy but really time-consuming. But I am pretty sure that you will get a 100% result and the latest version of macOS Monterey ISO.
When you create macOS Monterey ISO File then you can easily install macOS Monterey on your Mac as well as on virtualization software such as VMware and VirtualBox. I can say that you will really enjoy macOS Monterey and its fantastic features and functions. Therefore, follow up the guide step by step in order to Create macOS Monterey ISO Image File.
Create macOS Monterey ISO Image File
Step 1. Download the macOS Monterey DMG file from the App Store or from its official website. Now, the full and final version of macOS Monterey is released, you can easily download that.
Step 2. Once you have downloaded that, you have to quit the install by clicking on the Install macOS Monterey > Quit Install macOS
Step 3. Now make sure to open the terminal and type the following commands on the terminal. It will be prompted, just type your password.
Step 4. Mount the disk image to /volumes/bigsur write the below commands.
Step 5. Next, you have to write the Createinstallmedia command in order to make the disk image bootable with macOS Monterey.
Step 7. Now you have to convert and rename the disk image to iso.
After using all the commands accurately and following all the steps properly then you should have macOS Monterey ISO with yourself.
Bottom Line
It was all about How to Create macOS Monterey ISO Image File? (Latest Version). I hope you have learned something and successfully created a macOS Monterey ISO Image File. If you are having any kind of question-related to this article, you may feel free to comment down below.