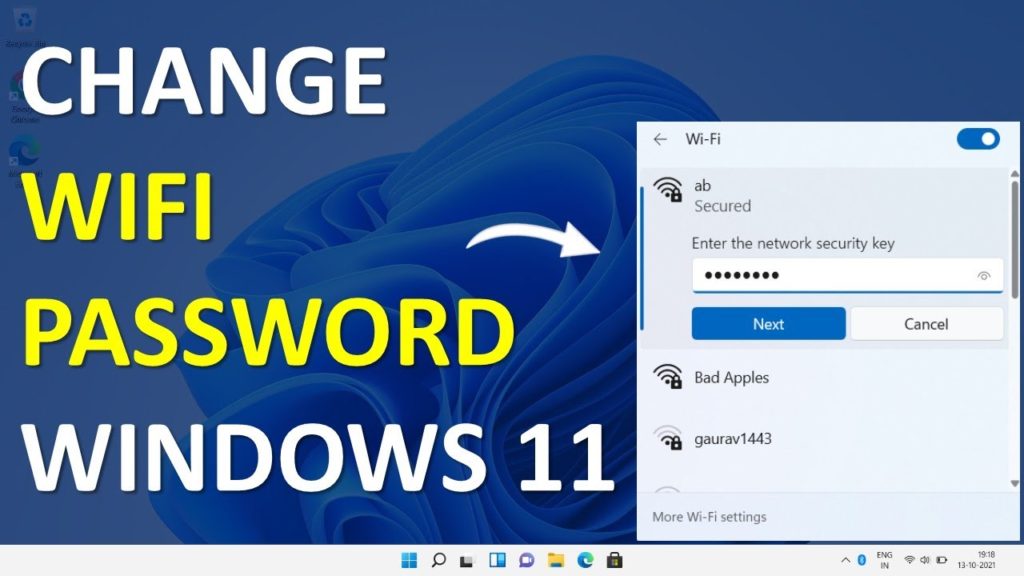
Changing the password of our network is a good way to disconnect from unknown devices. Or you can also face it when you enter the password of your internet then it says incorrect password. This is the most common way that everyone is facing when they are trying to connect their device to the internet. However, if the password of your internet is not powerful then when someone gets access to your network after that they are able to check your emails, personal information, and even the detail of your bank account. It is better to change the password on your internet to save your personal things. If you are wondering how to change the password then this article is especially for you. From this article, I’ll guide you about How to Change Wi-Fi Password on Windows 11?
Method 1. Change Wi-Fi Password From Settings
Step 1. First of all, you have to open the Settings by pressing Win Key + I from the keyboard.
Step 2. Click on the Network & Internet from the left side then click on the Advanced Network Settings.

Step 3. Now, click on the More Network Adapter Options in the section of related settings.

Step 4. Next, right-click on your network then select Status.

Step 5. The dialog box Wi-Fi will open simply tap on the Wireless Properties.

Step 6. Go to the Security tab then type your new password in the section of Network Security Key click on the Ok at the bottom right corner.
Method 2. Via Control Panel
Step 1. Open the Control Panel from the desktop of your PC, if you couldn’t find the search for it in the Start menu section.
Step 2. Tap on the View Network Status and Tasks.

Step 3. Click on the Network and Sharing Center after that select Change Adapter Settings on the left side.

Step 4. Right-click on your network then click on Status.
Step 5. Click on the Wireless Properties.

Step 6. Head towards the Security from the tab, type the new password for your network in the section of Network Security Key tap on Ok.
Method 3. From Router Page
Step 1. Open any browser the enter the IP address of your internet in the search bar section.
Step 2. Now, when the page is open then type the Username of a router and the Password after that click on the Login.
Step 3. Then you will many types of options on your left side click on the Wireless then select Wireless Security.
Step 4. At last, enter the new password in the box Wireless Password.
Step 5. Click on Apply to save all the changes.
Bottom Line
It was all about How to Change Wi-Fi Password on Windows 11? I hope this article is very helpful for you to change your Wi-Fi password. This was step by step guide on changing Wi-Fi passwords. From this article, you will get something good. This is the right place where you can easily solve your problem. After following these steps I hope you will not face any kind of problem. If you faced any kind of problem and if you have any type of suggestions then do comment.
Explore More:

