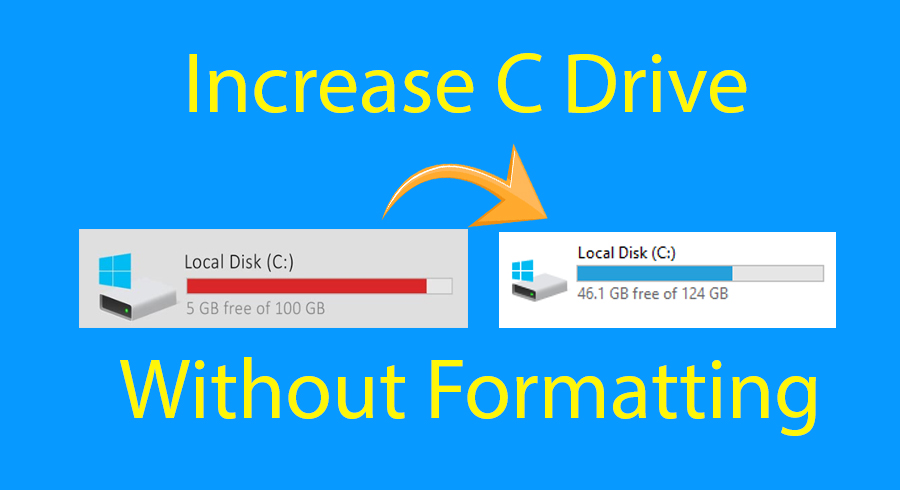
Once you install Windows 10 or other Windows operating systems, after a couple of days you may see the error when you download heavy software. So, you will be running out C Drive (partition drive) where the operating system is installed. Therefore, reinstalling Windows 10 is much difficult and needs much time to do so. Instead of reinstalling Windows 10 on your PC, it is better to increase the space of C Drive with Formatting. However, if you reinstall your Windows, then keep in mind that you will lose all the data present on your C Drive. And also you will lose the software which is installed and you don’t want to lose that all. If follow this guide’s step to increase the space then believe you won’t need to format. Therefore, in this article, you will learn How to Increase C Drive Space In Windows 10 Without Formatting 2020.
For the purpose of increasing the C Drive Space, we are going to use a single software. Therefore, it is pretty easy and you can extend the C Drive without any disk partition. The software which we will use is totally free of cost and easy to install. The main thing about this software that it won’t delete the data which is in C Drive. So, if you want to increase C Drive Space then make sure to have a large amount of space so that you should extend another drive.
How to Increase C Drive Space In Windows 10 Without Formatting in 2020
There are many methods too in order to C Drive but some of them are too lengthy and aren’t easy to increase. Moreover, I will show you the easiest way with the help of one software which can be increased pretty quickly. Therefore, you have to follow each and every step below in order to have more space in your C Drive. If you want to have more space the I prefer to purchase SSD for you drive because it can also make your computer ultra fast.
You can also use the steps for any Windows operating system such as Windows 7, Windows 8, and Windows 10. The same steps should be applied to all Windows so that it should work successfully.
Step 1. First of all, you have to shrink some space for C Drive. For that, you need to right-click on the Start Menu and click on the Disk Management.
So, you can take any drive’s space and extend it to C drive. You are going to expend from D drive to C drive. Generally, I will take some space from E Drive and Extent to C Drive.
Step 2. Once the Disk Management window opens, then first decide that from which drive you will take some space for C Drive. After that, you need to right-click on the E Drive and click on the Shrink Volume.
Step 3. After that, you will be asked to enter the amount to shrink. You can enter any amount you want because it will be extended to C Drive. In my case, I don’t need much space in my C Drive, simple I enter 1GB which is equal to 1024MB. Once you enter the space amount then make sure to click on the Shrink button.
Step 4. Now, you will get another unallocated drive in which you have entered the space amount.
Furthermore. you can’t extend the unallocated drive directly, because it is on the right side on E Drive. If you try to move it new C Drive then you won’t be able to move it from its place. Therefore, we need the unallocated drive on the right side of C Drive in order to extend that. For this purpose, we need to download and install third party software so that we should move the unallocated drive new C Drive.
Download and Install EaseUs Partition Master to Increase C Drive Space
Also Read:
Step 5. Now, you need to download the EaseUs Partition Master.
Step 6. When the downloading process finishes, install by clicking only the next button. And open the software. Then you can see all the drives which are in Disk Management.
Step 7. In this step, you need to right-click on the E Drive and click on the Resize/Move Partition.
Step 8. After that, you need to click on the blue bar and drag that to the right side.
Step 9. Next, click on the Apply from the top right side.
Step 10. The moving process will be starting, wait until it should be complete.
Step 11. After the process, you will get the unallocated drive on the right side of C Drive.
Congratulation you have successfully increase c drive space in windows 10.
Conclusion
That’s all about How to Increase C Drive Space In Windows 10 Without Formatting 2020. The complete steps to increase the space of c drive. I hope this method was beneficial to increase the space for you. If you have any question, suggestion, and problem then feel free to leave comments, I will happy to solve.

