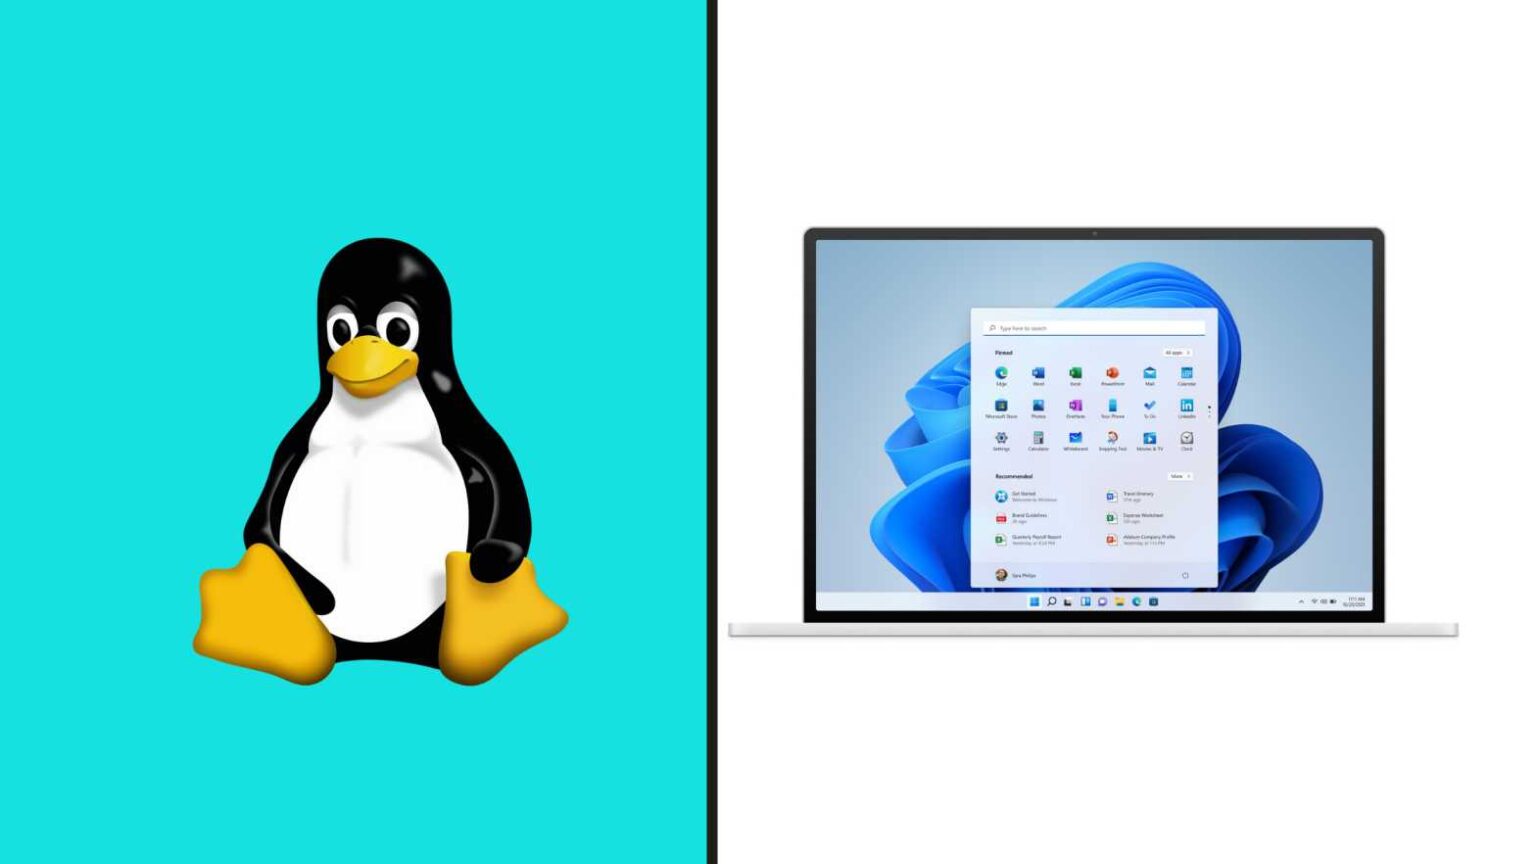
Linux Mint is a community-driven Linux distribution based on Ubuntu, bundled with a variety of free and open-source applications. Linux Mint is really a lightweight operating system that is installable on every PC without any restriction. It was released in 2006, it has a very simple and easy interface to work in any project. However, this year we have also got Windows 11 the greatest operating system. I will show you the deep steps on how to Install Linux Min in Windows 11.
Testing and using various operating systems at once by switching to one another is really interesting for every user. But installing on a physical or actual PC is never safe. To avoid this all, it is better to install an operating system on a virtual machine such as VirtualBox and VMware which is completely safe and fine for everyone. Therefore, we have prepared for you the step-by-step guide to install Linux Mint on a VirtualBox on Windows 11.
Steps to Install Linux Mint in Windows 11
Step 1: you have to download VirtualBox and Linux Mint ISO from their official websites.
Step 2: If you want to download the Linux Mint click on the Cinnamon.
Step 3: To download the VirtualBox Click on the Windows host.
Step 4: Now, open the Virtual Box and then click on the New.
Step 5: Write the name Linux Mint and then click on the Next.
Step 6: Now, Increase the Memory Size and click on the Next.
Step 7: Now, select the Create a Virtual hard disk now and click on the Next.
Step 8: Select the VDI (VirtualBox Disk Image) and click on the Next.
Step 9: Select the Dynamically allocated and click on the Next.
Step 10: Increase the file size and then select where you save and click on the Create.
Step 11: When it creates then Click on the Setting.
Step 12: Go to Storage and then click on the Empty and click on the CD Icon.
Step 13: Click On The choose a disk file.
Step 14: Select the Linux Mint File and click on the Open.
Step 15: Click on the Start.
Step 16: Now, linux Mint is download on windows 11.
Related Link: How to Update Windows 11 to Latest Version on PC
Bottom Line:
So, It is all about How to Install Linux Mint in Windows 11. You will really enjoy Linux Mint in Windows 11 if you go through the above steps. If you have faced any kind of problem while following the steps then do not hesitate to leave comments in the comment section below.

