How to Install Android 13 (Android Tiramisu) on Windows PC?
In this article, I am going to guide step by step on How to Install Android 13 (Android Tiramisu) on Windows PC? After android 12 which was tremendous, Android has just launched and released the preview of Android 13. Most of the people also call it Android Tiramisu. But one thing that people don’t like about the Android operating system is you can’t install Android on all Android phones. Because they announce only handy phone and which is recommended by Android. However, everyone was expecting a new operating system from Android, and now it is available for the users in order to test Android 13 on an Android Studio. If you want to test Android 13 on Android Studio on Windows then follow up on this article till the end.
Method 1. Install Andriod Studio
Step 1. Turn on your computer and then download the Andriod studio. You can download it from its official website for free.
 download the Andriod studio
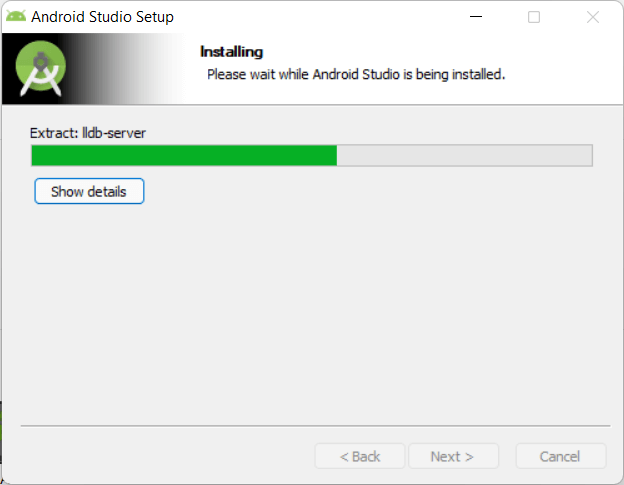
 Step 2. When it is downloaded then double click on it to open it.
Method 2. Configure Android Studio basic settings
Step 1. Now, select the Do not import settings and click on the OK.
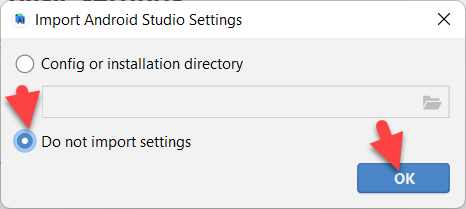 Click on the OK
 Step 2. Wait a minute till Andriod studio is downloaded.
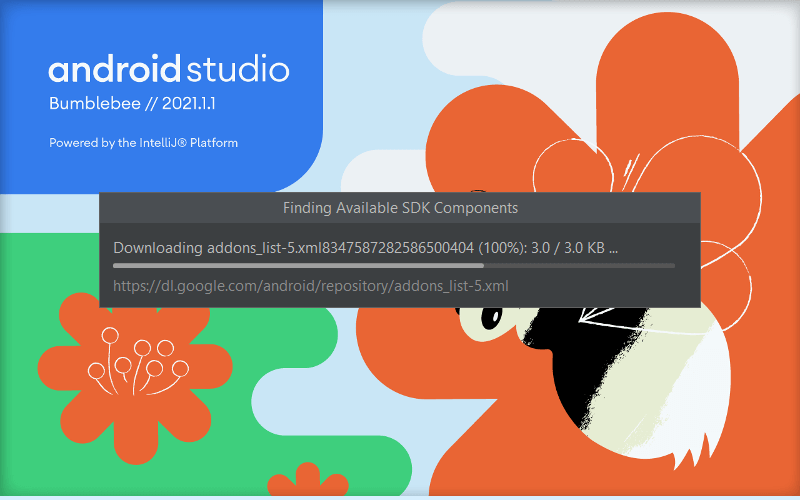 Wait a minute till Andriod studio is downloaded
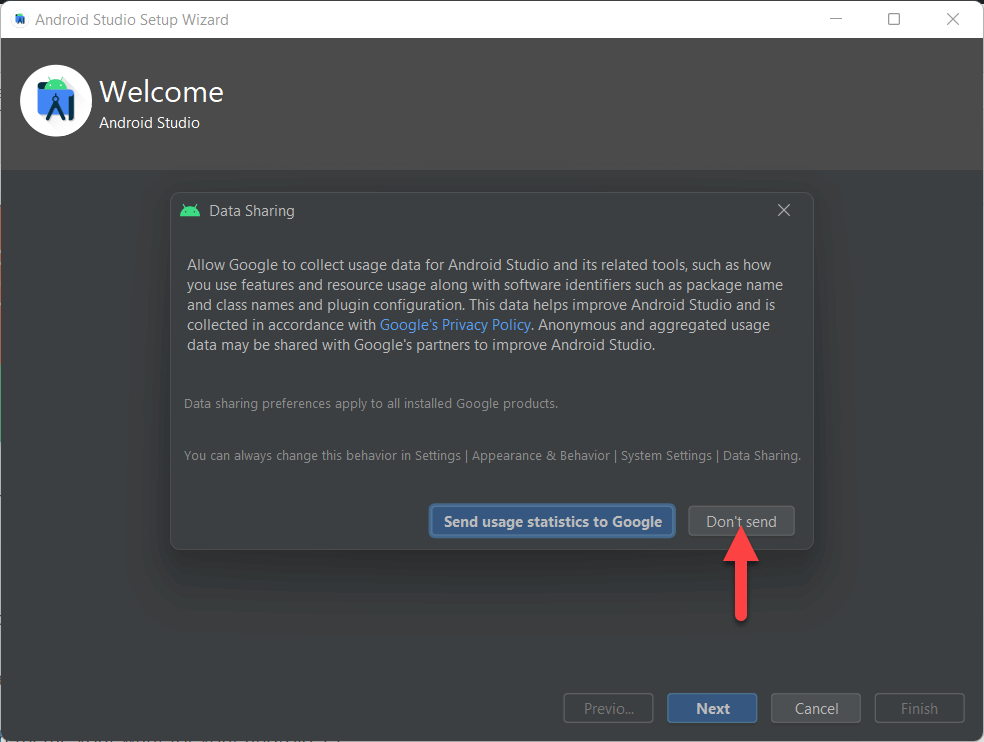
 Step 3. If your want to share your data with Google or if you don’t want to share then click on the Don’t send.
Step 4. Click on the Next.
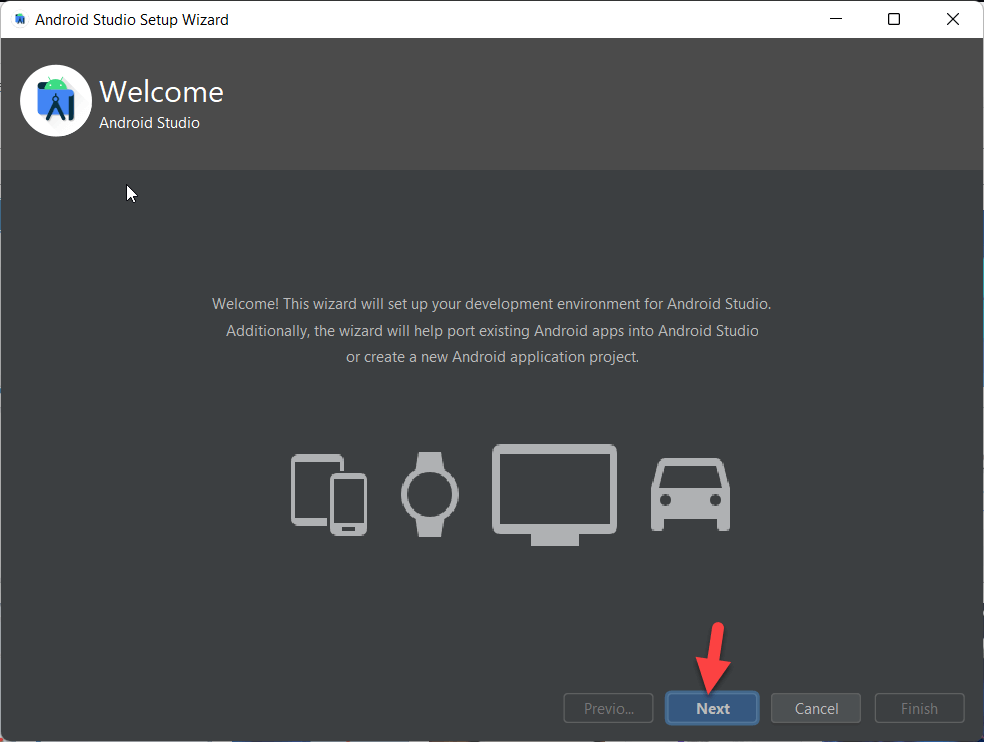 Click on the Next
 Step 5. Select the Standard Installation type and click on the Next.
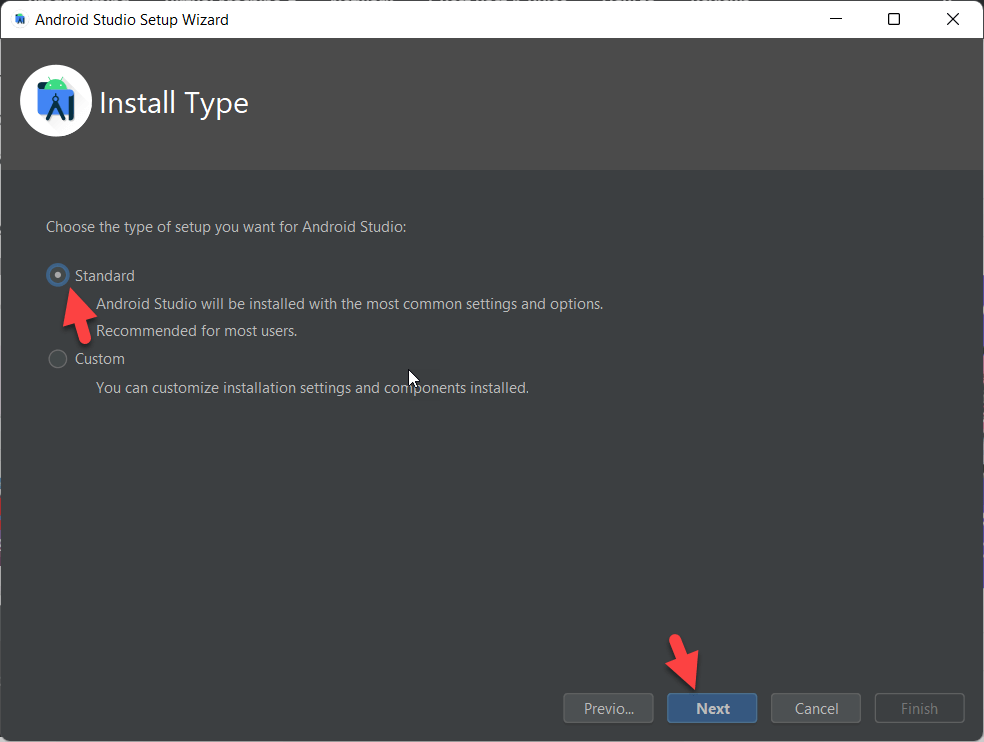 Click On the next
 Step 6. Now, select which theme your want for your android 13 and click on the Next.
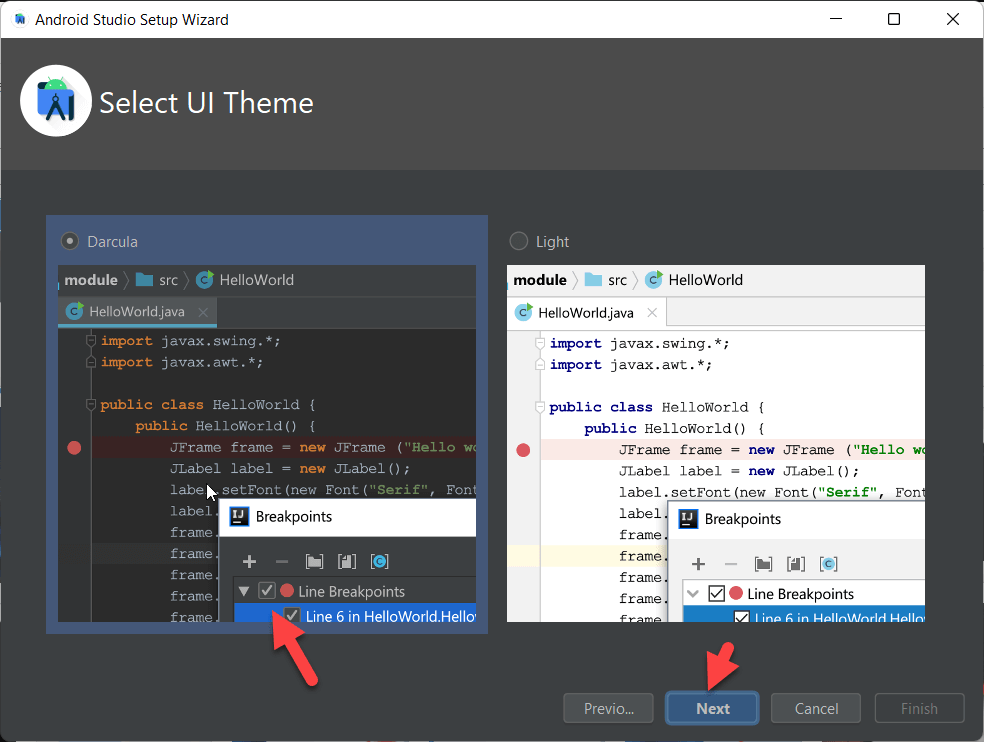 Click on the Next
 Step 7. Now, select the components that are selected then click on the next.
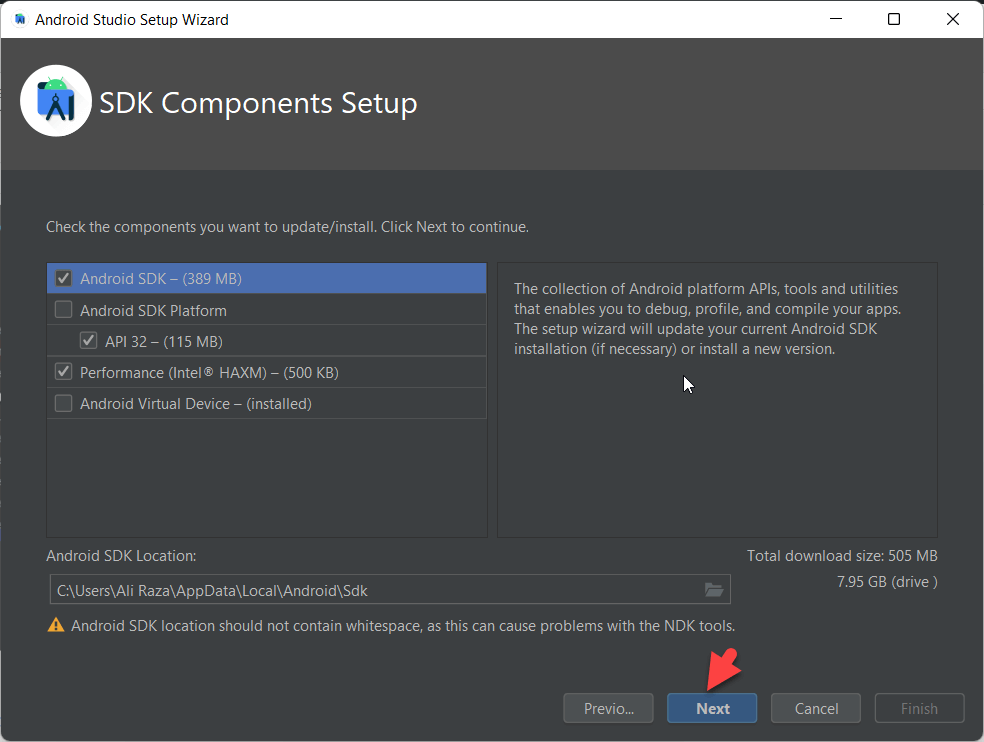 Click on the Next
 Step 8. Now, simply click on the Next.
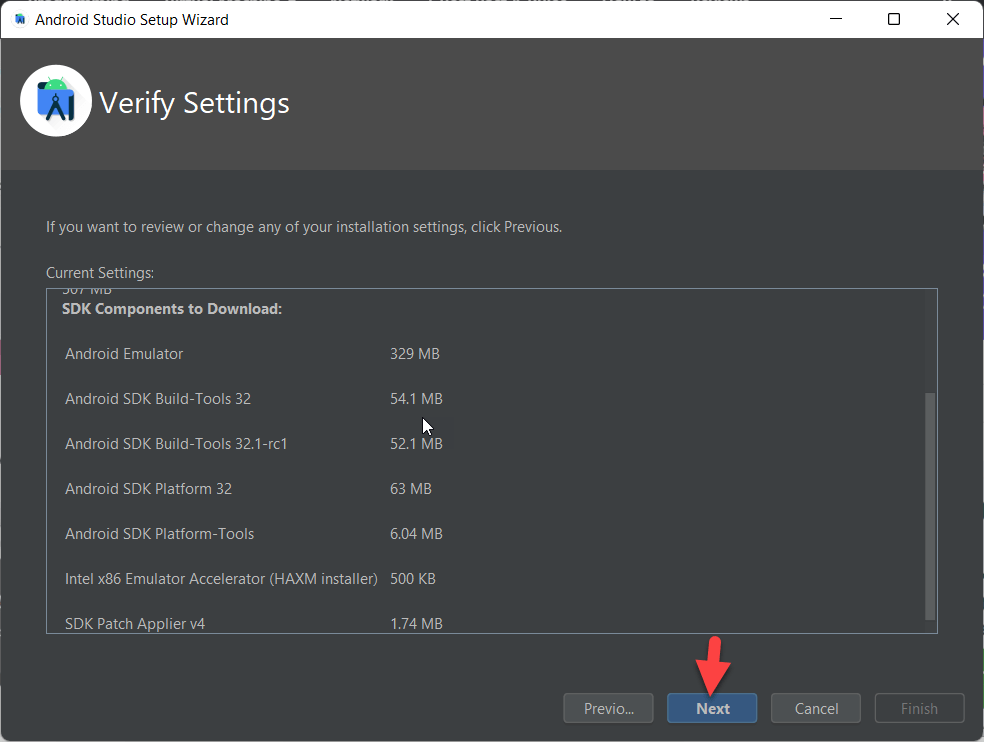 Click on the Next
 Step 9. Now, Accept the agreement and click on the Finish.
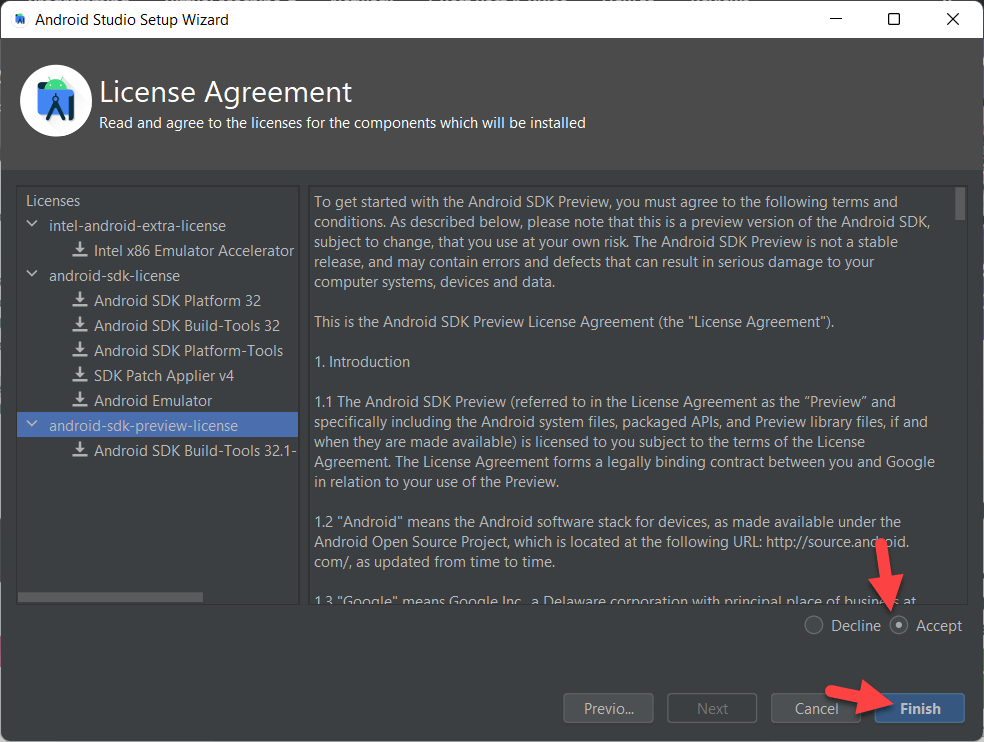 Click on the Finish
 Step 10. Now, wait a few minutes to download the file and click on Finish.
Create a Virtual Machine for Android 13 in Windows
Step 1. Click on the Dropdown icon for more actions and select the virtual device manager.
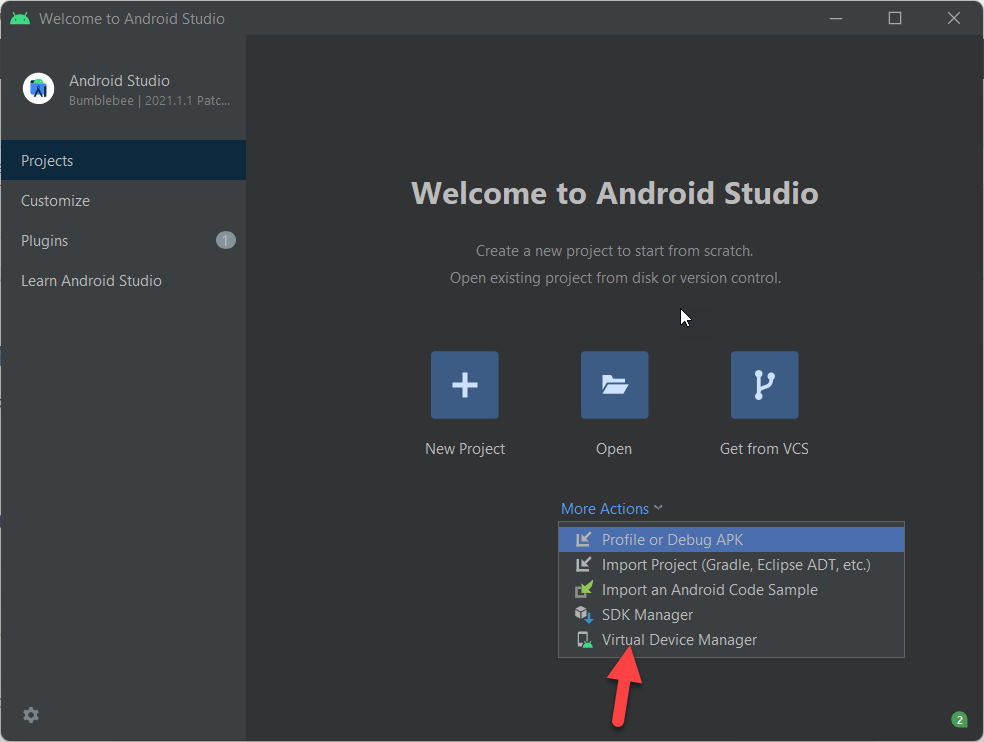 Click on the virtual device manager.
 Step 2. Click on the create a device.
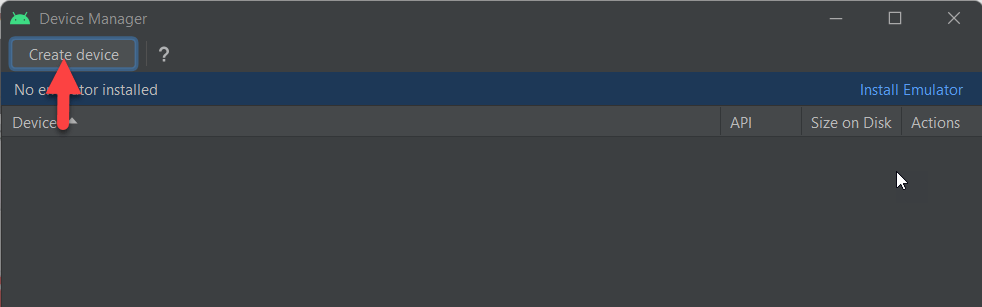 Click on the create a device
 Step 3. Select any hardware that is compatible to run the Android 13.
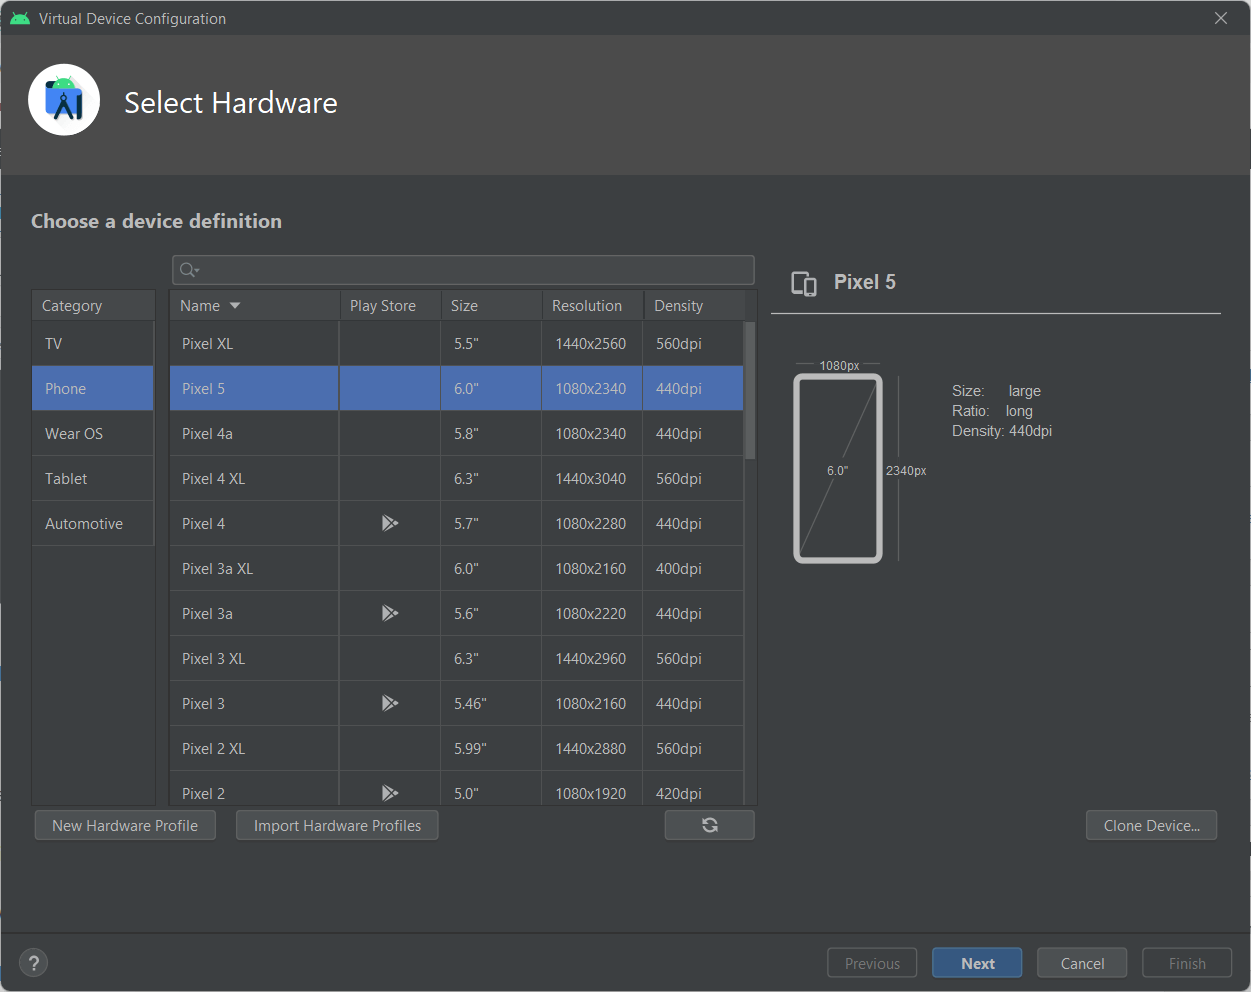 Select any hardware that is compatible to run the Android 13
 Step 4. Click on Android Tiramisu and download it.
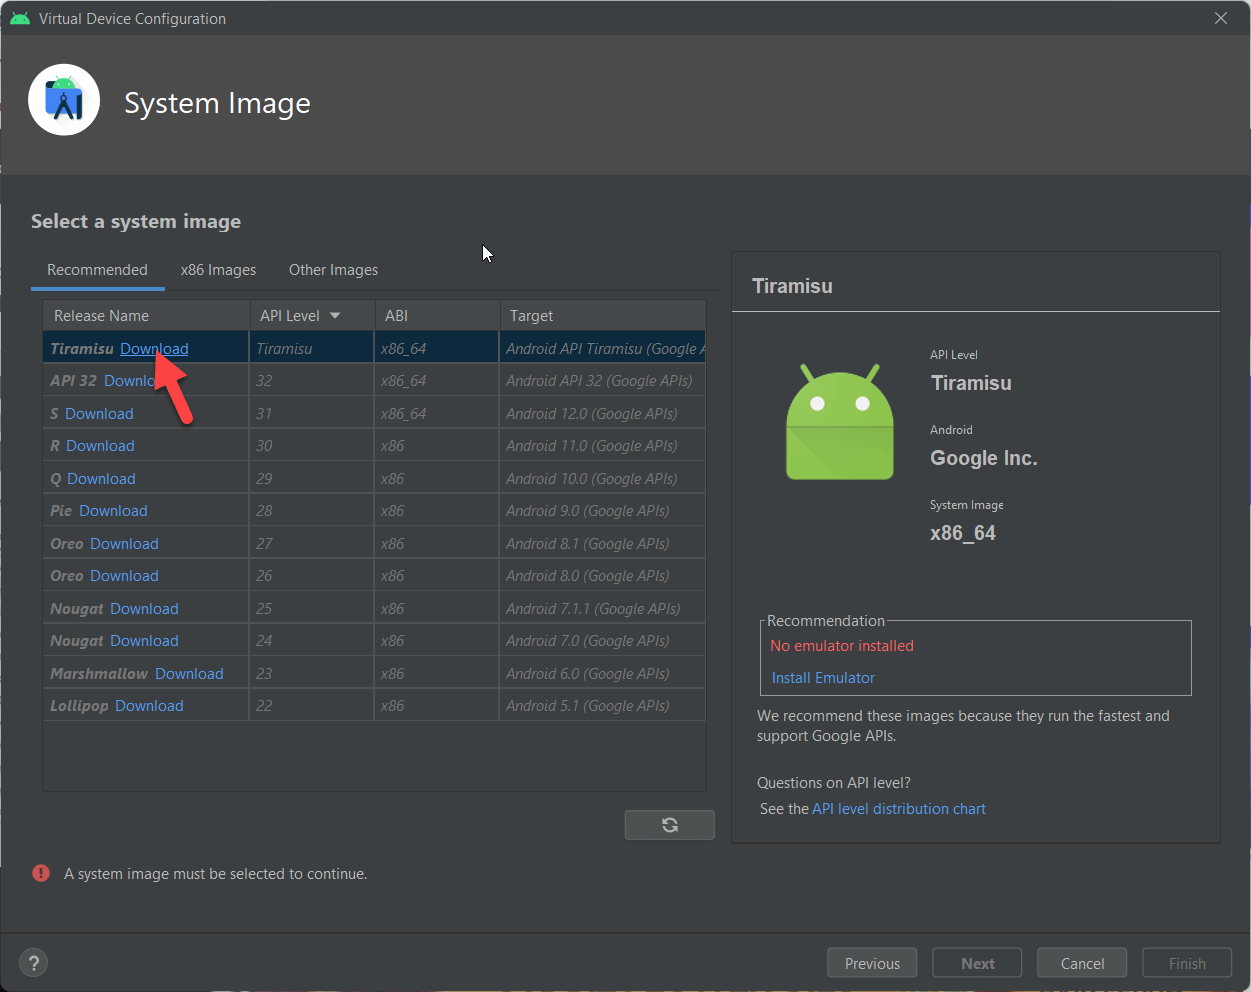 Click on the Download
 Step 5. Wait for a second to download the image of android 13.
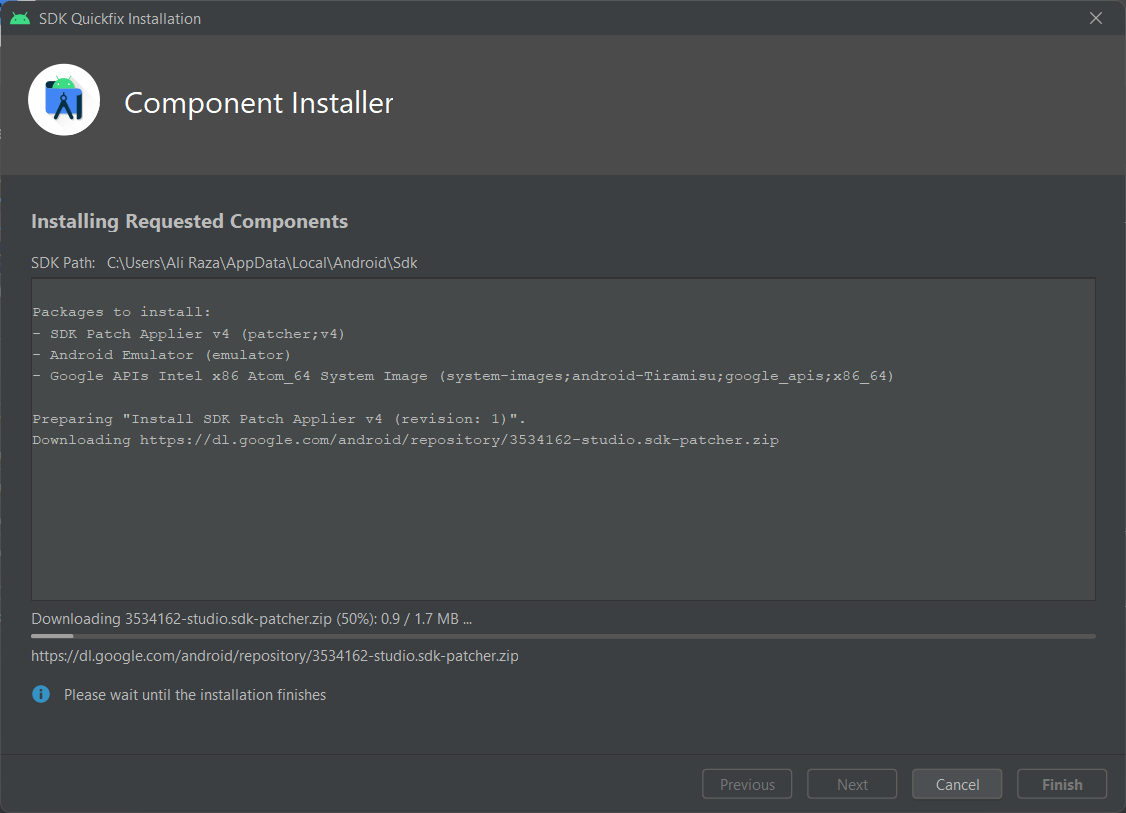 Wait a Second
 Step 6. Now, Change the Name of AVD Name
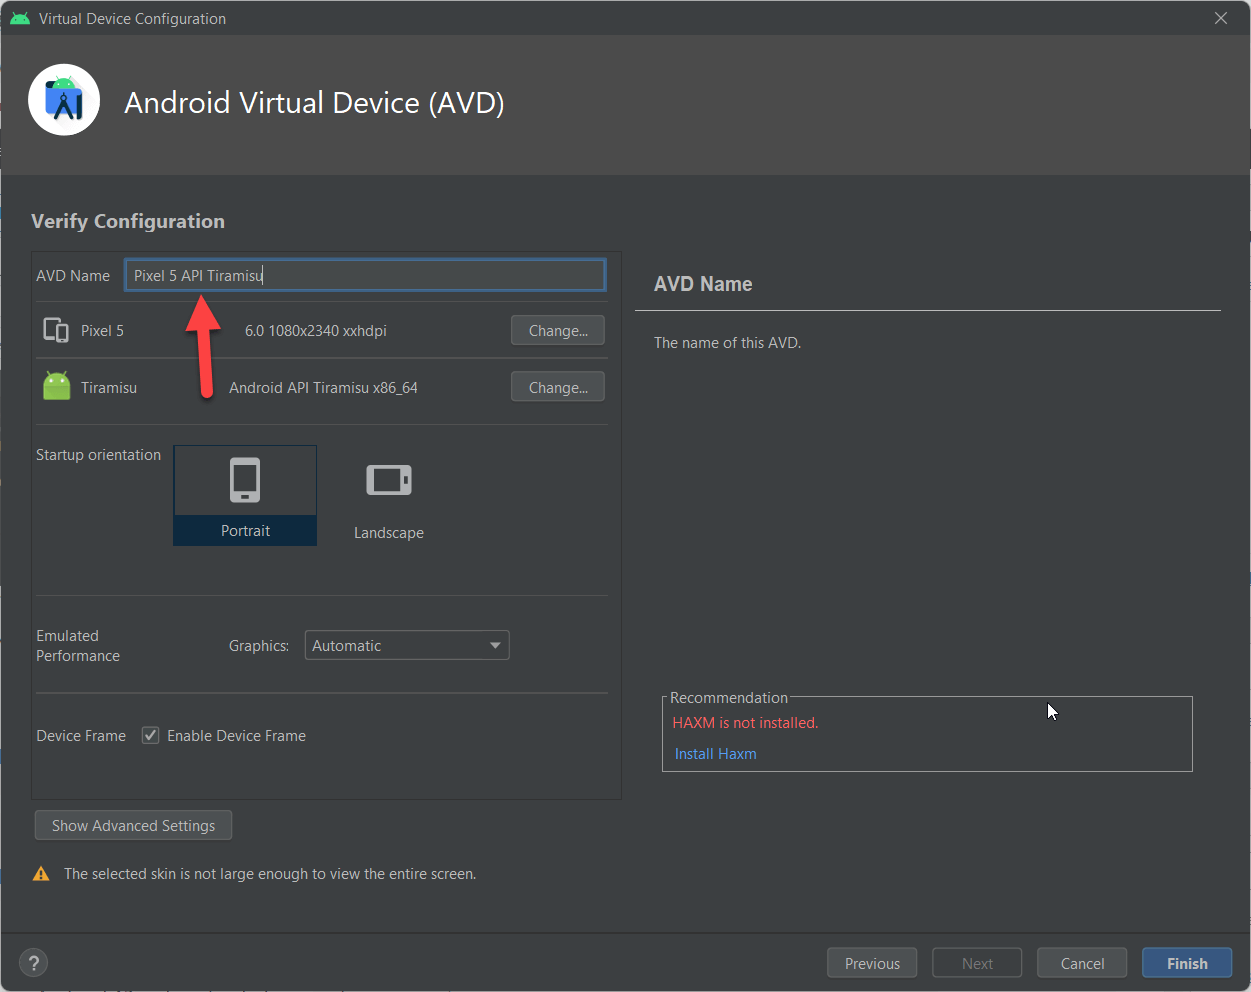 Change the Name of AVD Name
 Step 7. Click on the Play icon to play an Android 13.
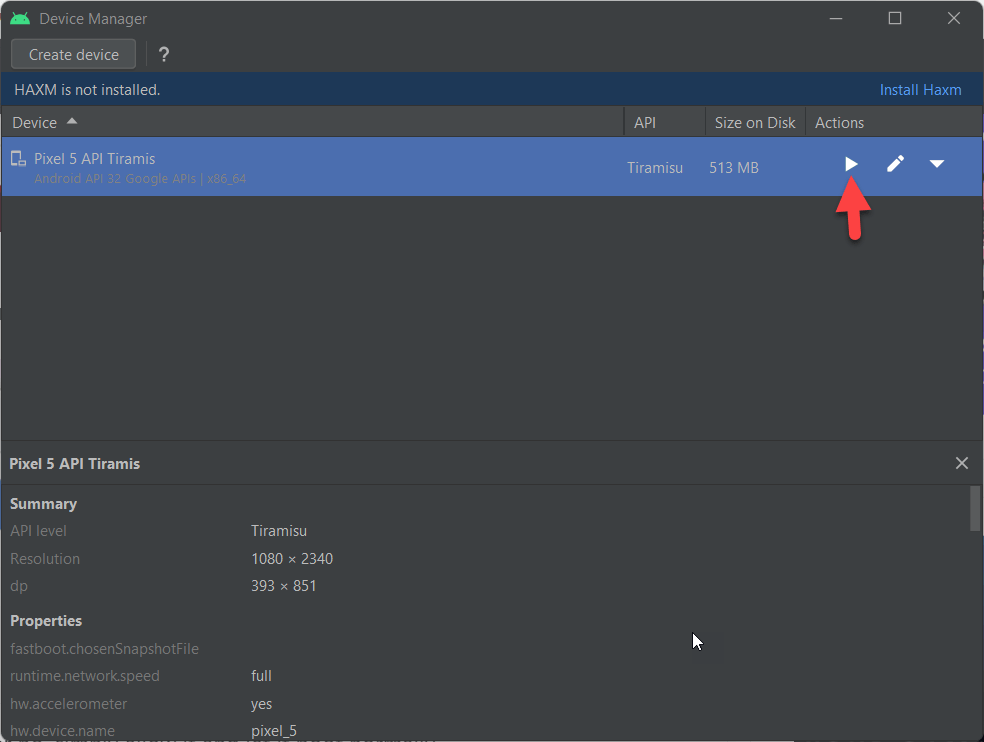 Click on the Play Icon
 Step 8. Click on the allow Access.
Step 9. Now, Andriod 13 is successfully installed on Windows PC. Enjoy using it!
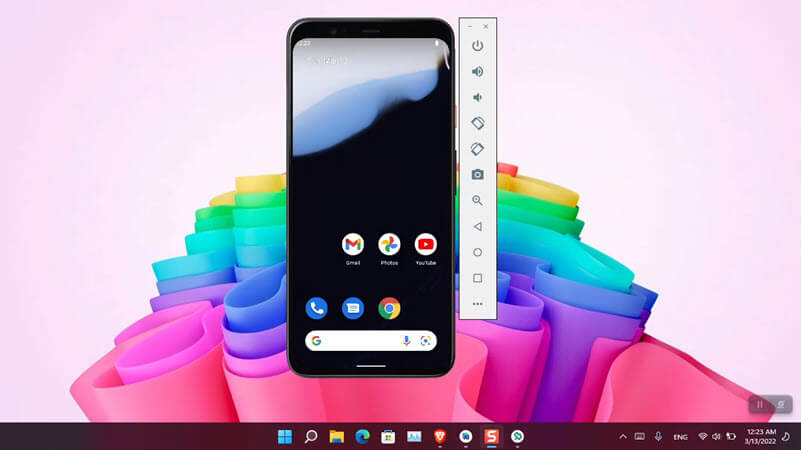 Android 13 on Windows PC
 Final Words
It was all about How to Install Android 13 (Android Tiramisu) on Windows PC? If you once install it then you will start using it every day because it works amazingly. I hope you have installed Android 13 on your Windows by following the steps. Anyhow, if you have encountered any problem while installing then feel free to comment down below, you will get your answer.
Tagged
Share This Article
In this article, I am going to guide step by step on How to Install Android 13 (Android Tiramisu) on Windows PC? After android 12 which was tremendous, Android has just launched and released the preview of Android 13. Most of the people also call it Android Tiramisu. But one thing that people don’t like about the Android operating system is you can’t install Android on all Android phones. Because they announce only handy phone and which is recommended by Android. However, everyone was expecting a new operating system from Android, and now it is available for the users in order to test Android 13 on an Android Studio. If you want to test Android 13 on Android Studio on Windows then follow up on this article till the end.
Method 1. Install Andriod Studio
Step 1. Turn on your computer and then download the Andriod studio. You can download it from its official website for free.
download the Andriod studio Step 2. When it is downloaded then double click on it to open it.
Method 2. Configure Android Studio basic settings
Step 1. Now, select the Do not import settings and click on the OK.
Click on the OK Step 2. Wait a minute till Andriod studio is downloaded.
Wait a minute till Andriod studio is downloaded Step 3. If your want to share your data with Google or if you don’t want to share then click on the Don’t send.
Step 4. Click on the Next.
Click on the Next Step 5. Select the Standard Installation type and click on the Next.
Click On the next Step 6. Now, select which theme your want for your android 13 and click on the Next.
Click on the Next Step 7. Now, select the components that are selected then click on the next.
Click on the Next Step 8. Now, simply click on the Next.
Click on the Next Step 9. Now, Accept the agreement and click on the Finish.
Click on the Finish Step 10. Now, wait a few minutes to download the file and click on Finish.
Create a Virtual Machine for Android 13 in Windows
Step 1. Click on the Dropdown icon for more actions and select the virtual device manager.
Click on the virtual device manager. Step 2. Click on the create a device.
Click on the create a device Step 3. Select any hardware that is compatible to run the Android 13.
Select any hardware that is compatible to run the Android 13 Step 4. Click on Android Tiramisu and download it.
Click on the Download Step 5. Wait for a second to download the image of android 13.
Wait a Second Step 6. Now, Change the Name of AVD Name
Change the Name of AVD Name Step 7. Click on the Play icon to play an Android 13.
Click on the Play Icon Step 8. Click on the allow Access.
Step 9. Now, Andriod 13 is successfully installed on Windows PC. Enjoy using it!
Android 13 on Windows PC Final Words
It was all about How to Install Android 13 (Android Tiramisu) on Windows PC? If you once install it then you will start using it every day because it works amazingly. I hope you have installed Android 13 on your Windows by following the steps. Anyhow, if you have encountered any problem while installing then feel free to comment down below, you will get your answer.